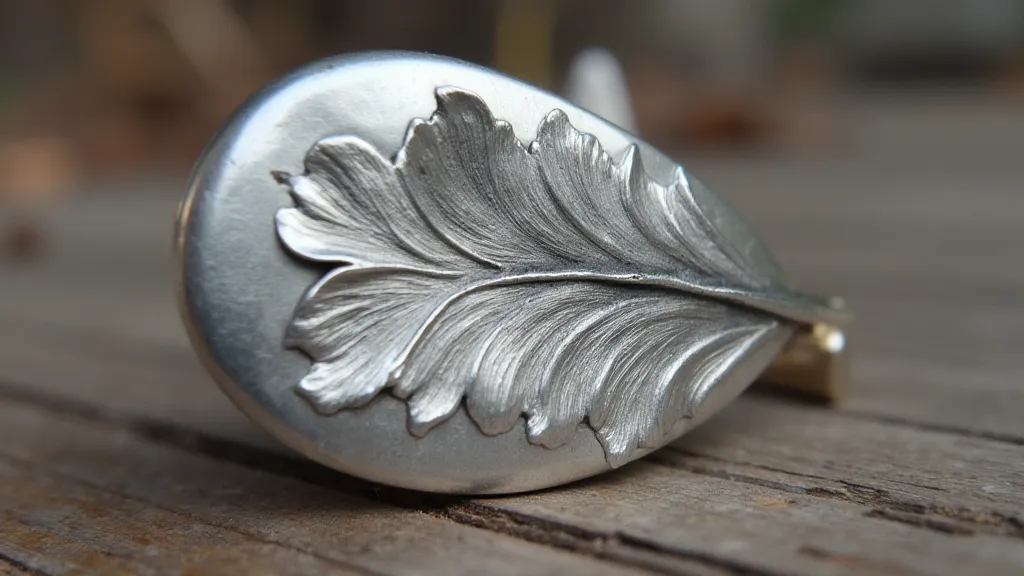
Silver Etching: Adding Designs with Acid
Learn how to etch designs into silver using acid, a fascinating and creative technique.
Introduction to Silver Etching
Silver etching is a subtractive metalworking technique where acid is used to selectively remove metal, creating a design on the silver surface. It’s a surprisingly accessible technique for beginners, adding a unique level of detail and artistry to your jewelry making projects. While it involves using acid, with proper safety precautions and following these steps, you can achieve beautiful and intricate results.
What You'll Need: Materials and Equipment
- Silver Sheet or Wire: The silver you wish to etch.
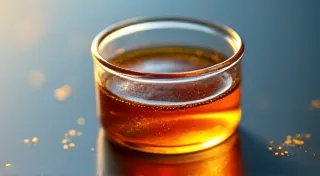
- Ferric Chloride (HCl): This is the most common etchant for silver. Handle with extreme care.
- Resist: A substance that resists the acid. Common resists include:
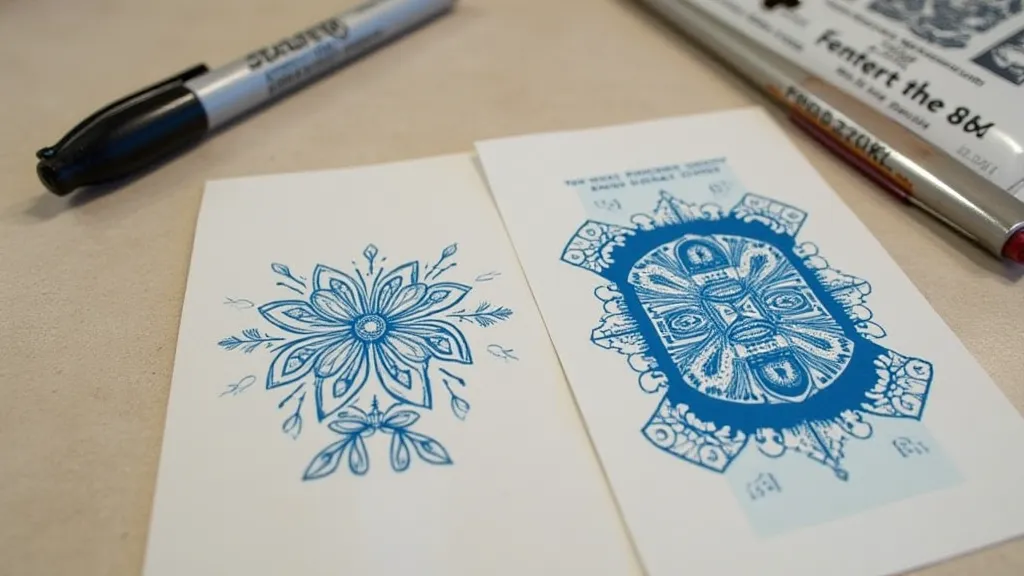
- Sharpie Markers (Oil-Based): Simple and readily available for basic designs.
- Photo Resist Film: Offers more precise detail for intricate designs.
- Wax Resist: Provides a textured, artistic finish.
- Water: For diluting the ferric chloride and rinsing.
- Plastic or Glass Container: To hold the etchant solution. (Never use metal!)
- Gloves: Essential for protecting your skin from the acid.
- Eye Protection: Safety glasses or goggles are a must.
- Ventilation: Work in a well-ventilated area, preferably outdoors.
- Brushes: For applying the resist.
- Paper Towels: For cleanup.
Step-by-Step Guide to Silver Etching
1. Design Your Pattern
Sketch your design onto paper or directly onto the silver. Remember that the design will be recessed into the silver, so think about the depth and contrast you want to achieve.
2. Applying the Resist
This step depends on the type of resist you're using:
- Sharpie Resist: Carefully color within your design with an oil-based Sharpie. Allow it to dry completely.
- Photo Resist: This requires more specialized equipment and a more complex process involving UV light exposure. Research specific photo resist tutorials for details.
- Wax Resist: Apply the wax evenly over the areas you want to protect.

3. Etching the Silver
Safety First! Wear gloves and eye protection. Work in a well-ventilated area.
- Dilute the ferric chloride solution according to the manufacturer’s instructions. Typically, a 1:2 or 1:3 ratio of ferric chloride to water is used.
- Carefully submerge the silver piece in the diluted ferric chloride solution.
- The etching time will vary depending on the concentration of the acid, the temperature, and the desired depth of the etching. Regularly check the progress, lifting the silver piece from the solution.
- Once the design is etched to your satisfaction, carefully remove the silver from the acid.
4. Removing the Resist and Rinsing
The method for removing the resist depends on the type used:
- Sharpie Resist: Use a solvent like acetone or rubbing alcohol.
- Photo Resist: Follow the specific resist manufacturer’s instructions for removal.
- Wax Resist: Heat the silver gently to melt the wax.
Thoroughly rinse the silver with water to remove all traces of acid and resist.
5. Polishing (Optional)
You can polish the etched silver to enhance the contrast between the etched and unetched areas. Use appropriate polishing compounds for silver.
Safety Precautions
- Always wear gloves and eye protection.
- Work in a well-ventilated area.
- Never mix acid with other chemicals.
- Dispose of used acid properly according to local regulations.
- Keep acid out of reach of children and pets.
Conclusion
Silver etching is a rewarding technique that allows you to add intricate details and unique textures to your silversmithing projects. With careful planning, attention to safety, and practice, you can create stunning and personalized jewelry.