Your First Silversmithing Project: Crafting a Simple Silver Ring
This guide walks absolute beginners through crafting their first silver ring. We cover essential tools, safety precautions, basic sawing, filing, soldering, and polishing techniques. Learn the fundamentals and build confidence with this rewarding project. Detailed step-by-step instructions and clear photos ensure success, even with zero prior experience. We focus on simplicity and achieving a beautiful, wearable result. Before you start, understanding some basic silverworking principles, like why annealing is sometimes necessary, can be incredibly helpful. For a deeper dive, check out our article on Annealing Silver: Why and How To Do It.
Introduction to Silversmithing and Ring Making
Silversmithing, the art of working with silver, can seem intimidating at first. But crafting a simple ring is a fantastic entry point. This project will introduce you to core metalworking techniques and give you a sense of accomplishment. Don't worry about perfection; focus on learning the process! The principles you’re learning now form the bedrock of more advanced techniques like Silver Etching: Adding Designs with Acid, where you can explore detailed patterns and textures.
Essential Tools & Materials
- Sterling Silver Sheet: Approximately 20 gauge (0.8mm) is a good starting point.
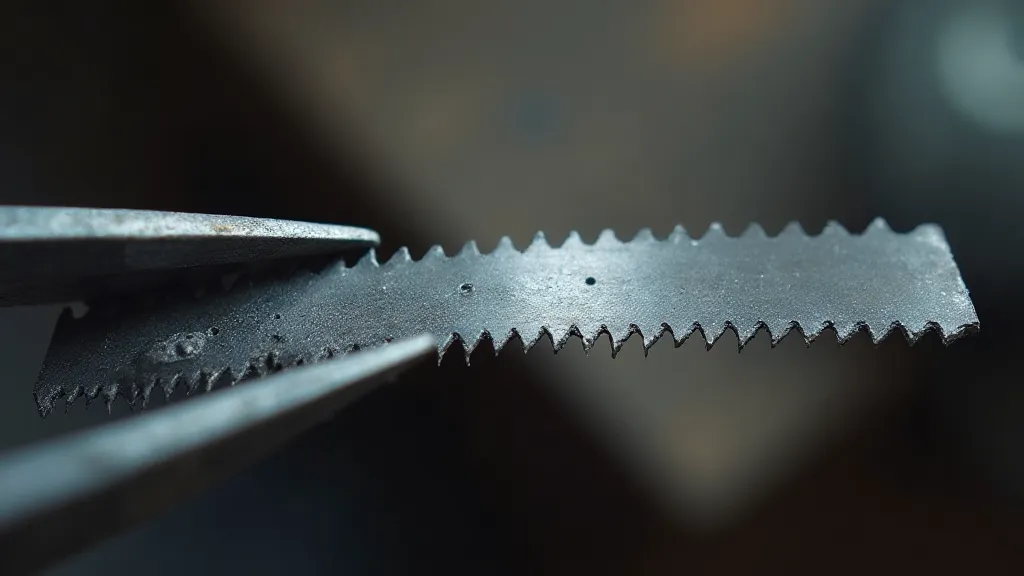
- Jeweler's Saw: With blades appropriate for silver.
- Saw Blades: Plenty of them! They dull quickly.
- Files: A selection of needle files (flat, round, half-round).
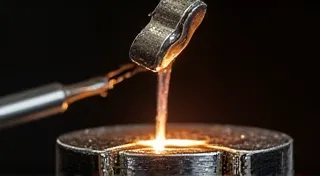
- Soldering Torch: A small torch designed for jewelry work.
- Solder: Easy-flow silver solder.
- Flux: Specifically for silver soldering.
- Tweezers: For handling small pieces.
- Bench Pin: A place to secure your silver while working.
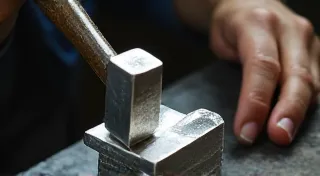
- Ring Mandrel: To shape the ring.
- Hammer: Small chasing hammer.
- Safety Glasses: Absolutely essential!
- Ventilation: A well-ventilated area is crucial due to fumes.
Safety First!
Silversmithing involves heat and sharp tools. Always wear safety glasses. Work in a well-ventilated area to avoid inhaling fumes. Be mindful of your surroundings and keep your workspace clear of clutter. Proper ventilation isn't just about comfort; it's critical for preventing the inhalation of harmful fumes. Understanding the materials you’re working with – including the potential hazards of soldering – is also key. Always research and understand the safety protocols before starting any project.
Step-by-Step Instructions
1. Preparing the Silver
Cut a rectangular piece of silver sheet approximately 3 inches by 1 inch. Use your jeweler’s saw to carefully cut out the silver. Take your time and follow the line accurately. It’s better to cut slowly and steadily. A slightly uneven cut can be corrected later. Achieving clean cuts relies not only on the right tools, but also on proper technique. Consistent pressure and a sharp blade are your allies.
2. Sawing and Shaping
Use your jeweler’s saw to shape the rectangle into a ring blank. You can make a simple rounded shape or experiment with a more unique design. Remember to leave a bit of extra silver on either side for later adjustments. This is where your creativity begins! Don't be afraid to experiment with different shapes, although it’s wise to start simple. Mastering the saw is foundational - practice on scrap silver until you feel comfortable.
3. Filing
Now it's time to refine the shape with your needle files. Use the flat file to smooth the edges and the round file to create curves. Pay attention to detail; the files will remove any saw marks and create a clean, professional look. The selection of files you use can significantly impact the final result. Each file shape is designed for a specific purpose, so familiarize yourself with their uses.
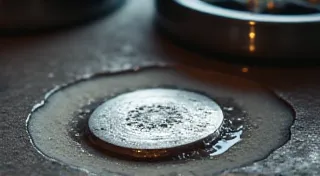
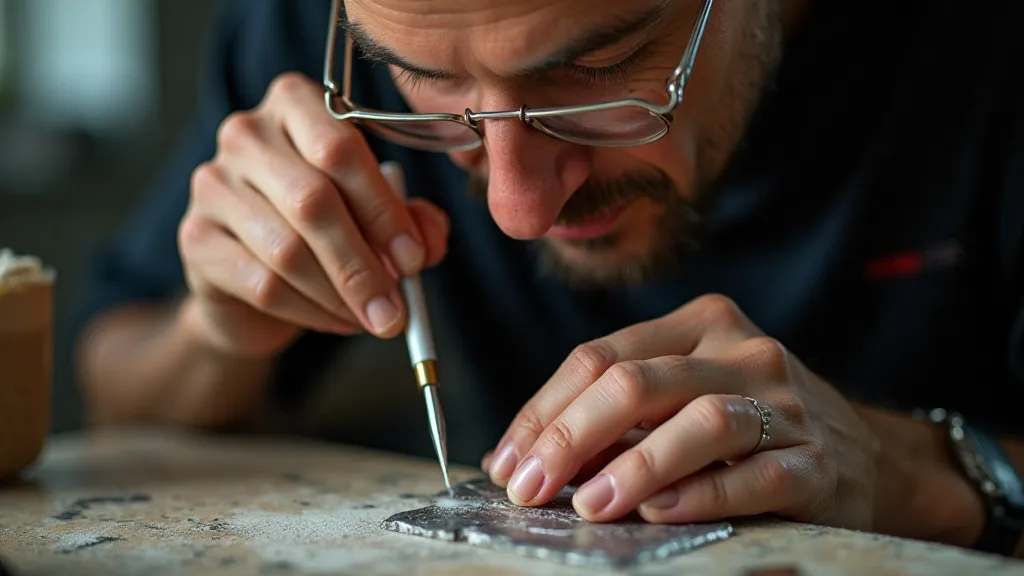
4. Soldering the Ring (Important!)
This is the most crucial step. Place flux on the joint where the ends of the silver meet. Position the silver ends precisely together. Using your torch, heat the joint evenly until the solder flows smoothly, joining the ends. A proper solder joint is strong and visually appealing. The quality of your solder, flux, and torch are all essential factors in achieving a successful joint. If the solder isn’t flowing properly, troubleshoot each element systematically.
5. Shaping the Ring on the Mandrel
Once the solder has cooled, carefully place the ring onto a ring mandrel. Use your chasing hammer to gently tap the ring, slowly working it down the mandrel to the desired size. Ensure the ring is even and round. This takes patience and a light touch. The ring mandrel is sized in increments, allowing you to gradually shape the ring to the exact dimensions you desire. Consistent tapping and even pressure are key to avoiding unevenness.
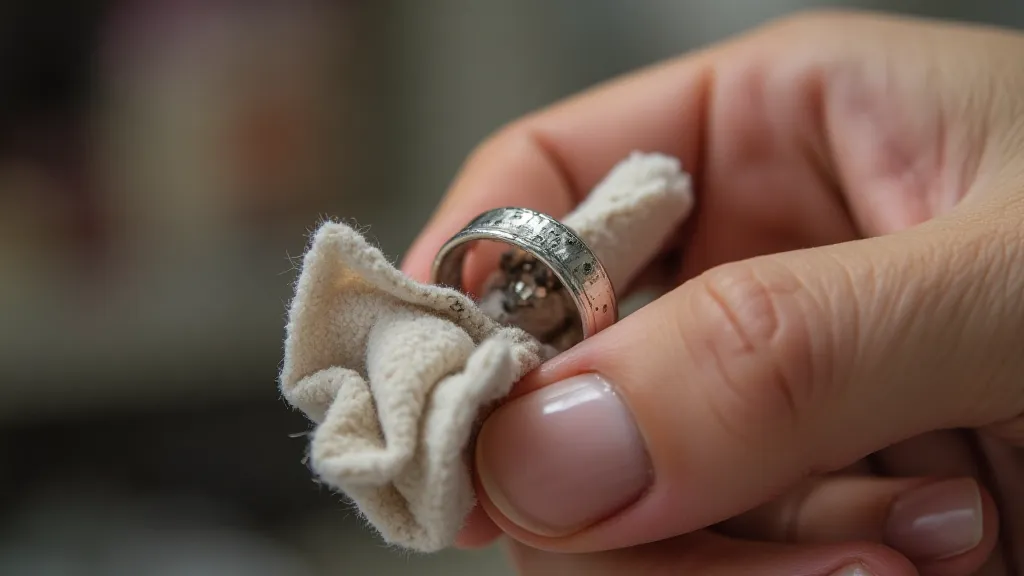
6. Finishing and Polishing
After shaping, use a combination of files to refine the ring’s surface and edges. Remove any remaining file marks. Then, polish the ring using a polishing cloth or buffing wheel. This will bring out the shine of the silver and create a beautiful, finished piece. Polishing isn't just about aesthetics; it also removes microscopic imperfections, revealing the true brilliance of the silver. There are different grades of polishing compounds, each designed for a specific level of shine.
Conclusion
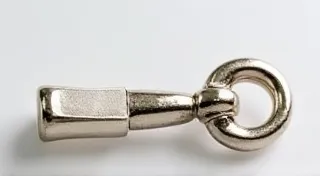
Congratulations! You've crafted your first silver ring. This project has introduced you to fundamental silversmithing techniques. With practice, you can tackle more complex designs and explore the endless possibilities of working with silver. Remember to always prioritize safety and enjoy the creative process! Perhaps your next project could be creating a unique toggle clasp to complement your new ring – check out Creating a Silver Toggle Clasp: A Practical Project for a new challenge!
Further exploration of silversmithing techniques can open up a world of creative possibilities. Consider experimenting with different metals, exploring more advanced joining methods, or delving into intricate decorative techniques. This initial project serves as a stepping stone to a rewarding and fulfilling craft.