Creating Textures on Silver: Hammering Techniques
Adding texture to your silver pieces is a fantastic way to elevate your silversmithing projects from simple to stunning. It adds visual interest, creates a tactile feel, and allows for a unique artistic expression. This tutorial explores several hammering techniques that are perfect for beginner silversmithing enthusiasts looking to add some character to their jewelry and metalworking creations. Before diving into texturing, it's helpful to understand the properties of the silver you're working with, which is why exploring different silver alloys, like Argentium vs. traditional sterling silver, can be a worthwhile endeavor.
Why Texture Matters
Think of a smooth, polished silver surface. It’s clean and elegant, but can lack personality. Texture breaks up that smoothness, creating shadows, highlights, and a more dynamic visual. Texturing can also disguise imperfections in your silver and add a handcrafted feel, which is very desirable in today’s market. The right texture can truly transform a piece, turning it from ordinary to extraordinary, and often dictates the overall style of the final product.
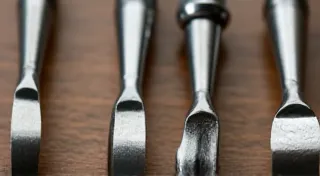
Essential Tools for Hammering
You don't need a huge array of tools to start texturing silver. Here's what you’ll need:
- A Hammer: This is your primary tool. Different types of hammers produce different textures. A chasing hammer is a good starting point but ball-peen, planishing, and even simple cross-peen hammers can be used. Understanding how the metal responds to various techniques also enhances your overall understanding of basic silver forming techniques like hammering, bending, and shaping.
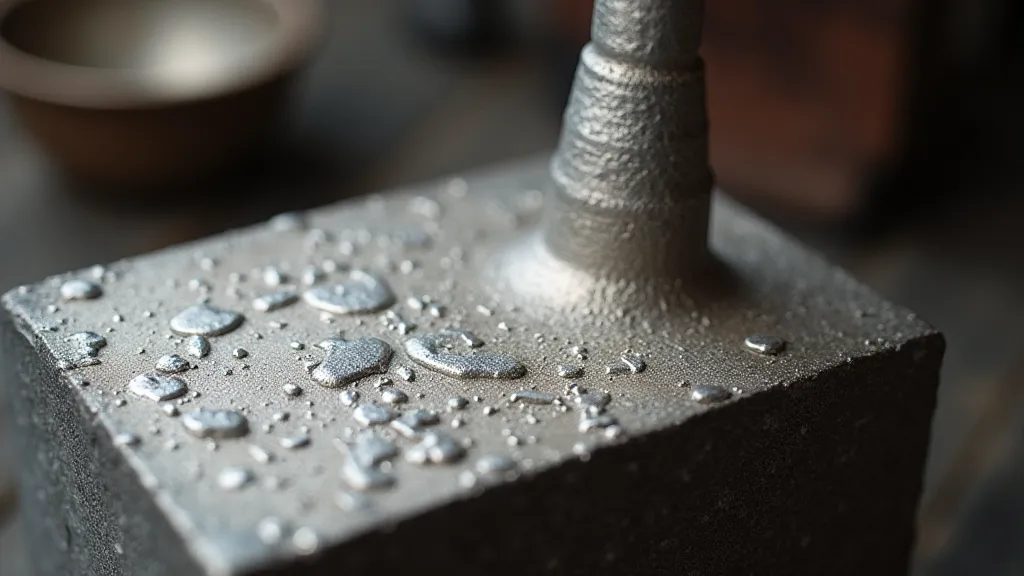
- A Steel Bench Block: This provides a solid, flat surface to hammer on.
- Silver (of course!): Start with scrap silver to practice.
- Optional: Texturing Tools: These can be specialized hammers or tools that create specific patterns.
Hammering Techniques
1. Random Hammering (Peening)
This is a great introductory technique. Simply hammer the silver randomly across the surface. The goal isn't to create a pattern, but to roughen the surface and create a subtly mottled texture. Vary your hammer blows for a more natural look. Light, quick taps are usually best to avoid denting the silver excessively. This is an excellent way to begin to understand how different hammer blows impact the metal.
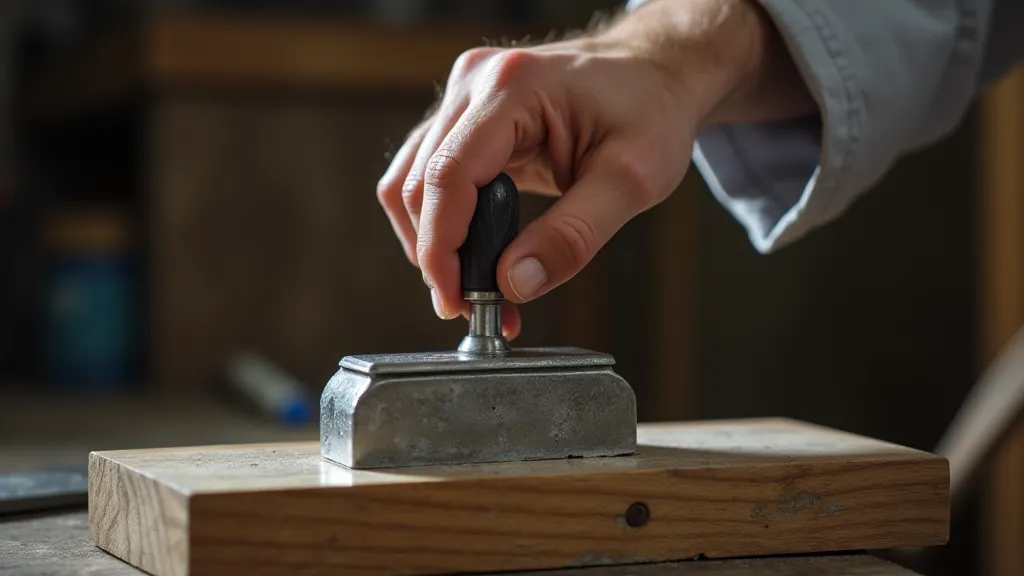
2. Planishing
Planishing is the process of smoothing and hardening the surface of the silver. It’s done with a planishing hammer, which has a smooth, flat face. The aim is to gently flatten and compress the surface, making it more durable and subtly refining the texture. It can be applied after other texturing techniques to soften the appearance. The process of planishing not only improves the look of the metal, but increases its strength.
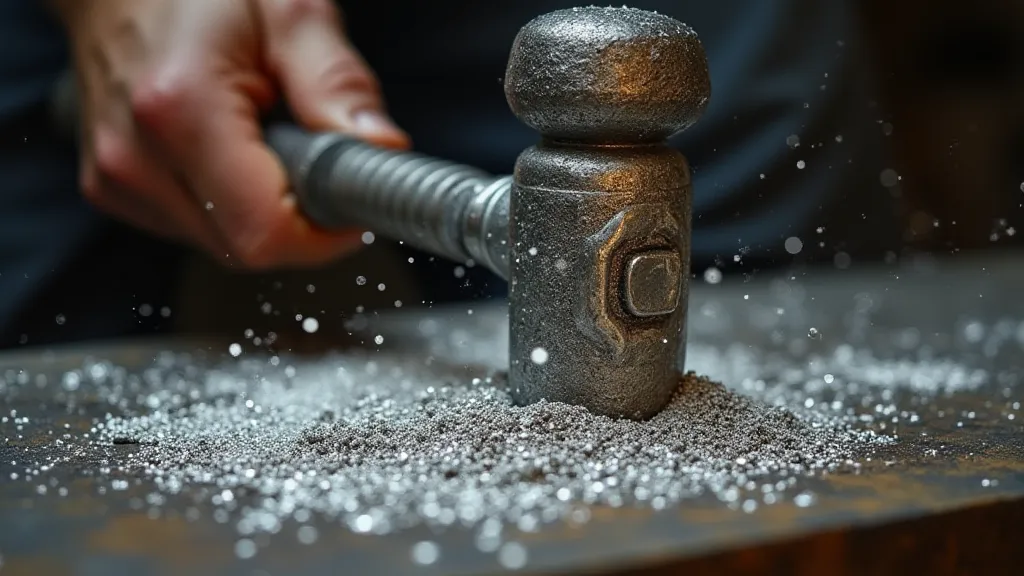
3. Texturing with a Ball-Peen Hammer
A ball-peen hammer creates a more pronounced texture due to its curved face. This is fantastic for creating a rustic or weathered look. You can use it to create patterns by rotating the silver under the hammer. Experiment with different angles and pressures to achieve varied results. When combining techniques, consider how the planishing might alter the texture created by the ball-peen hammer.
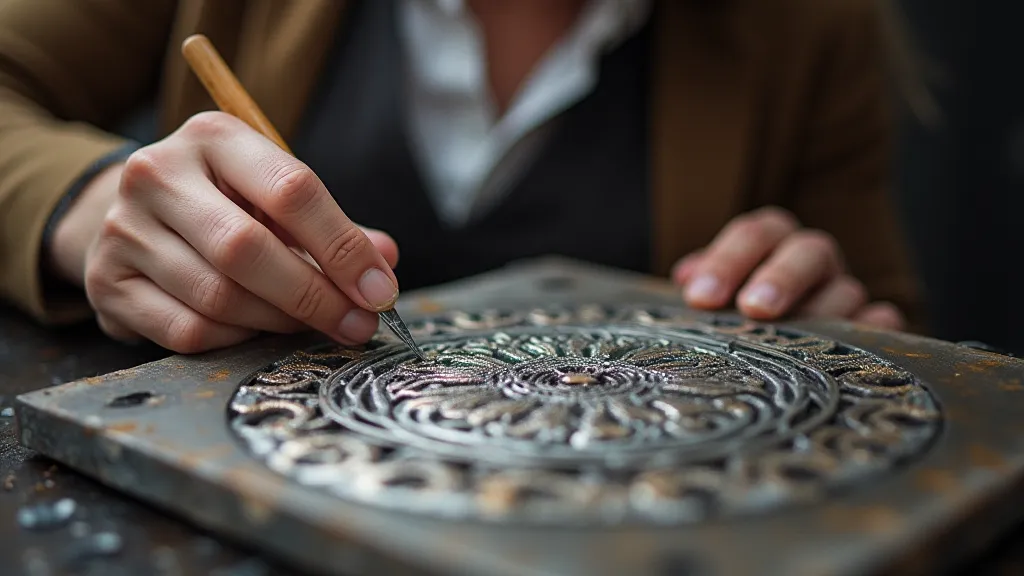
4. Chasing
Chasing is similar to chasing in relief carving. Using a chasing hammer, which is a V-shaped hammer, you gently push the silver to create a raised design. This technique requires more control and practice, but the results can be stunning. Begin with simple designs. The precision required for chasing often necessitates additional practice and a well-organized workspace.
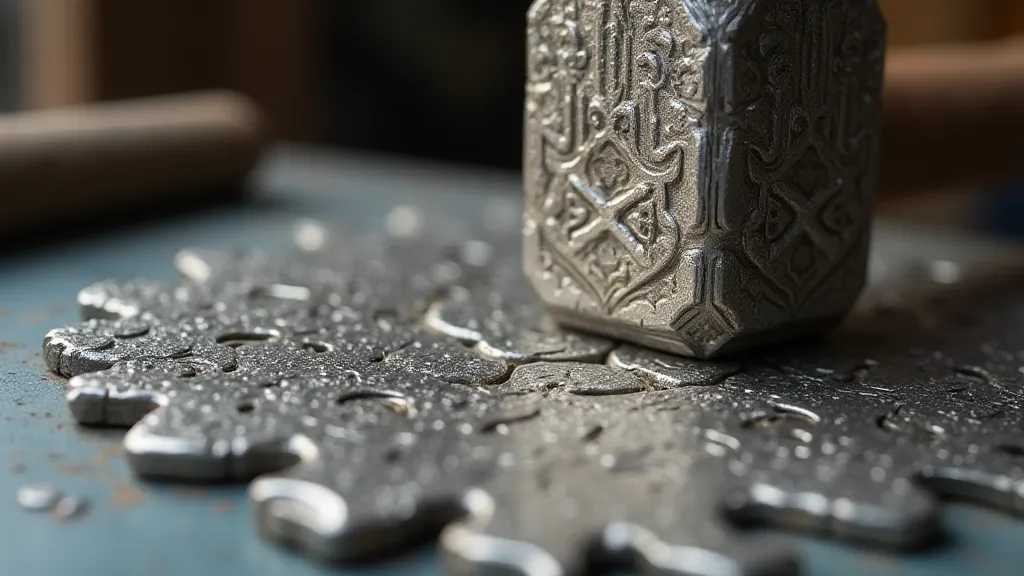
5. Texturing with Pattern Hammers
Specialized pattern hammers create repetitive textures like stripes, pebbles, or floral motifs. These are a faster way to add a complex texture, but the designs can sometimes look less organic. The effect can be enhanced by combining a pattern hammer with hand-chasing techniques.
Combining Techniques for Unique Effects
The real magic happens when you start blending different hammering techniques. For example, you could start with random hammering to create a textured surface, then use a ball-peen hammer to add more pronounced details, and finally apply planishing to refine the overall appearance. Consider experimenting with layering textures, where one technique is applied before another to create complex and unexpected results. This also speaks to the importance of knowing how to join these pieces together using a strong and lasting connection – something you can explore further in a guide to understanding and using silver soldering.
Tips for Success
- Practice on Scrap: Always practice on scrap silver before working on a piece you want to keep. This allows you to experiment freely without worrying about damaging your project.
- Control Your Force: Light taps are usually better than heavy blows, especially when you’re starting out. Excessive force can easily deform the metal and ruin the desired effect.
- Rotate the Silver: Constantly rotate the silver to ensure even texture. This prevents uneven wear and tear and ensures a balanced aesthetic.
- Observe the Results: Stop frequently to examine your work. It's crucial to step back and assess your progress to avoid overworking the metal.
- Consider the Joint: When creating components that will be joined together, keep the joint in mind. Textured areas can sometimes complicate soldering, so careful planning is essential.
Project Ideas to Hone Your Skills
Now that you understand the fundamentals of hammering techniques, let's look at some project ideas to help you hone your skills. A simple toggle clasp is an excellent starting point, allowing you to practice planishing and texturing in a functional piece. This also requires a secure and lasting connection that can be explored in a guide to creating a silver toggle clasp. Or, consider creating a series of textured pendants or earrings, experimenting with different combinations of hammering techniques and patterns.
Experimenting with different hammering techniques is key to finding your own style. Don't be afraid to try new things and see what you can create! With a little practice, you’ll be adding beautiful textures to your silversmithing projects in no time. The possibilities are truly endless – let your creativity guide you and enjoy the process of transforming a simple piece of silver into a work of art.