Understanding and Using Silver Soldering: A Beginner's Guide
Silver soldering, also known as hard soldering, is an essential skill for any aspiring silversmith. It's the process of joining two pieces of silver together using a filler metal (solder) that melts at a lower temperature than the base metal. This guide will break down the basics, making it approachable even for complete beginners. We'll cover everything from choosing the right materials to mastering the technique, and importantly, how to avoid common pitfalls.
What is Silver Soldering and Why is it Important?
Unlike silver brazing which uses much higher temperatures, silver soldering uses a relatively low heat to create a strong, permanent joint. This is crucial for creating durable and beautiful jewelry pieces and small metalwork items. It's far more common in jewelry making than trying to physically fuse the silver, which is incredibly difficult and rarely produces reliable results.
Essential Materials for Silver Soldering
- Sterling Silver: Most beginners start with sterling silver (92.5% silver, 7.5% copper) due to its workability and relatively easy soldering properties.
- Solder: Available in various silver/copper alloys, choose a solder with a slightly lower melting point than your silver. "Easy" solder is a popular choice for beginners.
- Flux: This crucial ingredient cleans the metal surfaces, preventing oxidation and allowing the solder to flow properly. Borax-based flux is commonly used.
- Torch: A propane/oxygen torch or a butane torch is typical. Beginners often find butane torches more manageable initially.
- Fireproof Surface: A soldering pad or fire brick is essential for safely supporting your work.
- Tweezers/Soldering Pick: For holding the pieces together and applying flux and solder.
The Silver Soldering Process: A Step-by-Step Guide
- Preparation: Thoroughly clean the silver pieces to be joined. Any grease or dirt will interfere with the solder flow. Use sandpaper or a specialized silver cleaner.
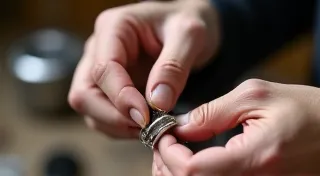
- Assembly: Position the pieces precisely as you want them joined. Use a third piece of silver to act as a "shim" to hold the pieces in place if necessary.
- Flux Application: Apply a thin, even layer of flux to the entire joint area. This is critical for a successful solder.
- Solder Placement: Place a small amount of solder along the joint line. A little goes a long way!
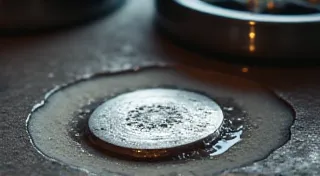
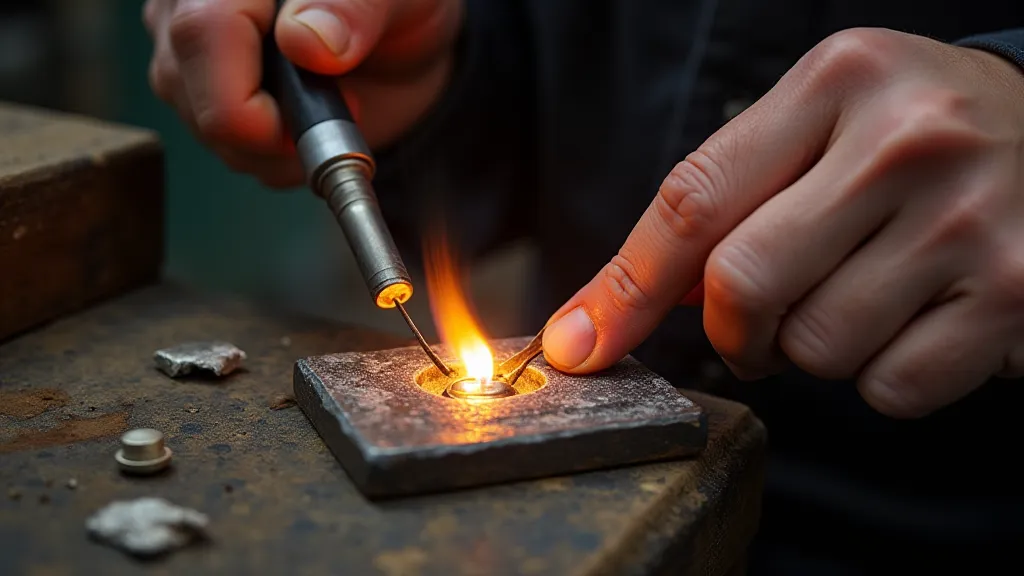
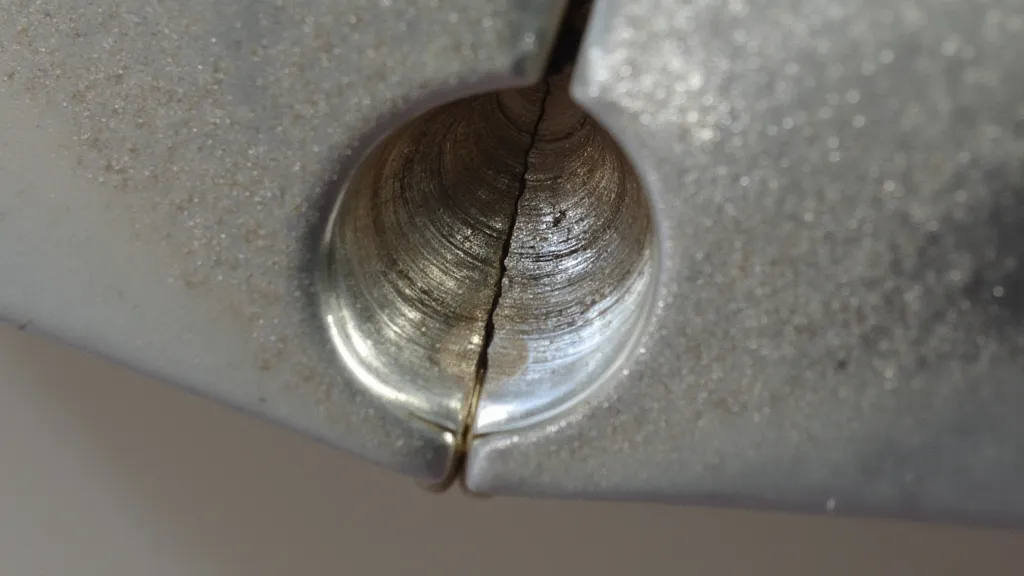
- Heating: This is the trickiest part. Gently heat the entire joint area, not just the solder itself. Move the torch around to ensure even heating. The solder will melt and flow into the joint.
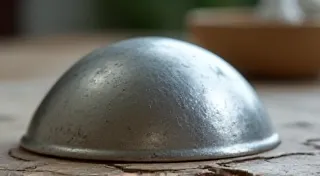
- Cooling: Allow the joint to cool naturally. Avoid quenching it in water, as this can weaken the silver.
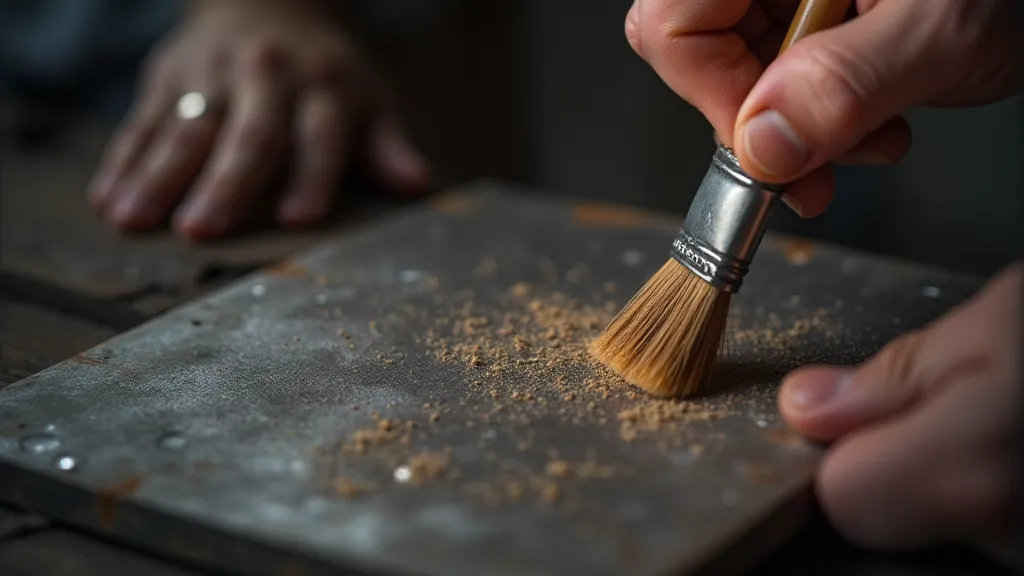
- Cleaning: After cooling, remove any excess flux with a stiff brush and hot water.
Safety Precautions
- Ventilation: Soldering produces fumes. Work in a well-ventilated area or use a fume extractor.
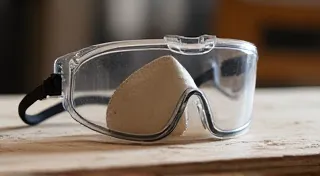
- Eye Protection: Always wear safety glasses to protect your eyes from flying debris and sparks.
- Heat-Resistant Gloves: Protect your hands from burns.
- Fire Extinguisher: Keep a fire extinguisher nearby in case of emergencies.
Common Mistakes to Avoid
- Insufficient Cleaning: Dirty silver won't solder properly.
- Too Much Heat: Can cause the silver to melt or distort.
- Uneven Heating: Leads to weak or incomplete joints.
- Not Enough Flux: Prevents the solder from flowing.
- Rushing the Process: Soldering requires patience and careful attention to detail.
Conclusion
Silver soldering might seem daunting at first, but with practice and attention to detail, it becomes a rewarding skill. By understanding the basics, following safety precautions, and avoiding common mistakes, you’re well on your way to creating strong and beautiful silver joints for your jewelry and metalworking projects. Keep practicing, and don’t be afraid to experiment!