Mastering the Sawing Technique in Silversmithing
The sawing technique is fundamental to silversmithing, allowing you to create intricate shapes and designs from silver sheet and wire. While it might seem daunting for beginners, with practice and the right approach, you can achieve accurate and precise cuts. This tutorial breaks down the process, covering saw selection, blade tension, and practical sawing tips to get you started. Before you even begin cutting, it's essential to understand the broader safety considerations involved in silversmithing. Ensuring you’re using proper ventilation and personal protective equipment is crucial for a healthy and enjoyable creative process, as detailed in Silver Safety: Precautions and Best Practices.
Understanding Your Saw and Blades
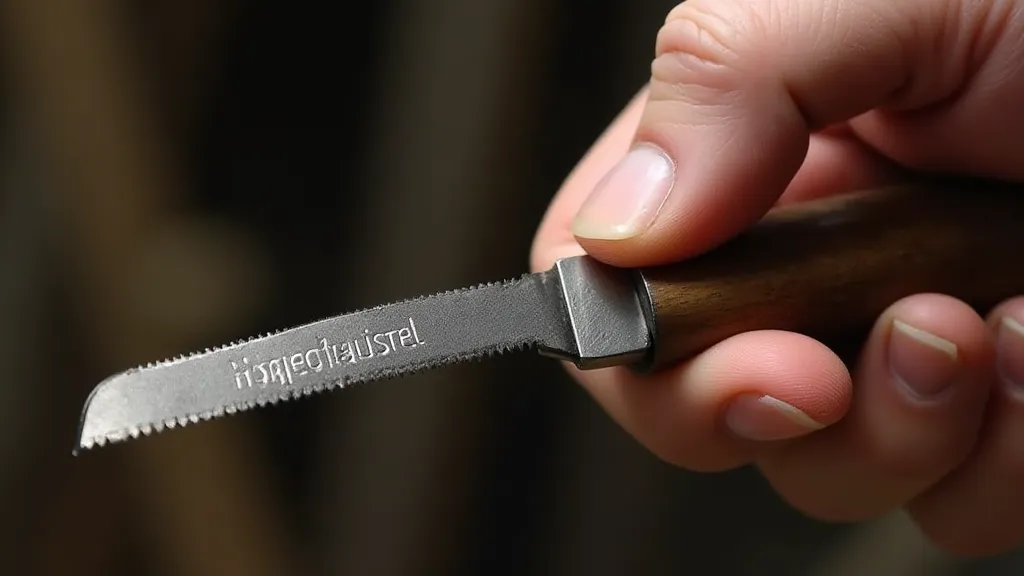
A coping saw is the standard tool used for sawing in silversmithing. The frame holds the blade, and the blade itself is what does the cutting. Blades come in various thicknesses and teeth-per-inch (TPI). For beginners working with silver, a fine blade (around 24 TPI) is generally recommended. This allows for cleaner cuts and reduces the risk of blade breakage. Choosing the right blade is only part of the equation. Consider what you’re creating, as many aspiring silversmiths find success moving on to crafting Your First Silversmithing Project: A Simple Silver Ring after mastering the basic sawing techniques.
Setting Up Your Blade: Tension is Key
Proper blade tension is absolutely crucial. A blade that’s too loose will wander and cut unevenly. A blade that’s too tight is fragile and prone to snapping. Here's a guide:
- Check for Straightness: When the blade is tightened, it should be taut and straight across the frame.
- The "Pluck" Test: Gently pluck the blade. It should produce a clear, ringing tone. If it sounds dull or flat, the tension needs adjusting.
- Tightening Mechanism: Most coping saws have a screw mechanism to adjust the tension. Turn the screw clockwise to increase tension and counterclockwise to decrease it.
The Sawing Process: Step-by-Step

Before you begin, it's essential to mark your cut lines clearly on the silver sheet or wire. Here's the sawing process:
- Starting the Cut: Gently push the blade forward and rotate it slightly to engage the teeth. Don't force it! Proper marking is important for precision, but also consider the need to keep your silver pieces clean to maintain their luster. Regular Cleaning Silver: Maintaining the Beauty of Your Creations will help ensure your finished projects look their best.
- The Rhythm: The sawing motion should be a smooth, rhythmic back-and-forth movement. Let the blade do the work; don’t push or force it.
- Angle & Pressure: Keep the saw relatively perpendicular to the silver. Apply gentle, even pressure on the push stroke and release pressure on the return stroke.
- Dealing with Wander: If the blade starts to wander, stop sawing and reposition the blade. A slight rotation of the blade can help realign it. Blade wander isn’t just a frustration; it can impact the final aesthetic and structural integrity of your piece.
- Cutting Curves: When cutting curves, rotate the silver, not the saw. This allows you to maintain a consistent cutting angle. Mastering curves takes practice and a steady hand.
Tips for Beginners
The learning curve for silversmithing can be steep, and sawing is often a significant hurdle. Don't be discouraged by initial difficulties; perseverance is key. Many beginners find themselves needing to revisit fundamental aspects of the process.
- Practice on Scrap Silver: Don't start on your project silver! Practice on scrap pieces to get a feel for the technique. This is particularly useful for experimenting with different blade tensions and sawing angles.
- Use Lubricant: A tiny amount of lubricant (like beeswax or WD-40 – used *very* sparingly) can help reduce friction and prolong blade life. Be mindful of the type of lubricant used, as some can leave a residue that requires further cleaning.
- Listen to Your Blade: Pay attention to the sounds your blade makes. Changes in sound often indicate a problem. A squealing sound might indicate a dull blade or insufficient lubrication.
- Take Breaks: Sawing can be tiring. Take breaks to prevent fatigue and maintain control. Ergonomics play a vital role in preventing repetitive strain injuries.
- Sharpness Matters: A dull blade will require more force and is more likely to break. Replace blades regularly. Keeping a supply of replacement blades readily available is a sign of a prepared silversmith.
Common Problems and Solutions
- Blade Breakage: Usually caused by excessive tension or forcing the blade. Ensuring proper blade tension and using a smooth sawing motion are key to preventing breakage. Consider using a slightly thicker blade initially, as it’s more resistant to snapping.
- Wandering Blade: Indicates incorrect tension, dull blade, or improper sawing technique. Carefully review the blade tension and ensure you're maintaining a consistent sawing angle.
- Uneven Cuts: Often a sign of inconsistent pressure or a wandering blade. Practice maintaining a steady hand and focus on keeping the blade perpendicular to the silver.
Expanding Your Silversmithing Skills
Once you’re comfortable with the sawing technique, the next logical step is to learn about joining the pieces you’re cutting. Soldering is an essential skill in silversmithing, and it builds directly upon the accuracy achieved through precise sawing. Explore Soldering 101: Your Guide to Joining Silver Pieces to move to the next stage of your creative journey.
Mastering the sawing technique takes time and practice. Don't get discouraged if your first few attempts aren’t perfect. With patience and persistence, you’re well on your way to creating beautiful silver designs! Remember to always prioritize safety, keep your tools clean and sharp, and embrace the learning process.