Creating a Silver Toggle Clasp: A Practical Project
Welcome to another silversmithing tutorial! Today we're tackling a practical and rewarding project: crafting a beautiful and functional silver toggle clasp. This project is perfectly suited for beginners, allowing you to practice essential techniques and create a component you can use on your own jewelry designs. Before you begin, it's a good idea to familiarize yourself with the different grades of silver; understanding the distinctions between sterling and fine silver, for instance, can significantly impact your project choices.
What You'll Need

Understanding the Materials: Choosing Your Silver
The choice of silver can affect the overall appearance and workability of your clasp. While sterling silver is commonly used for its balance of durability and cost-effectiveness, other alloys may offer slightly different properties. If you're new to silversmithing, understanding silver grades explained can save you some frustration later on. Different silver alloys react to heat and solder differently.
Step 1: Cutting the Toggle Pieces
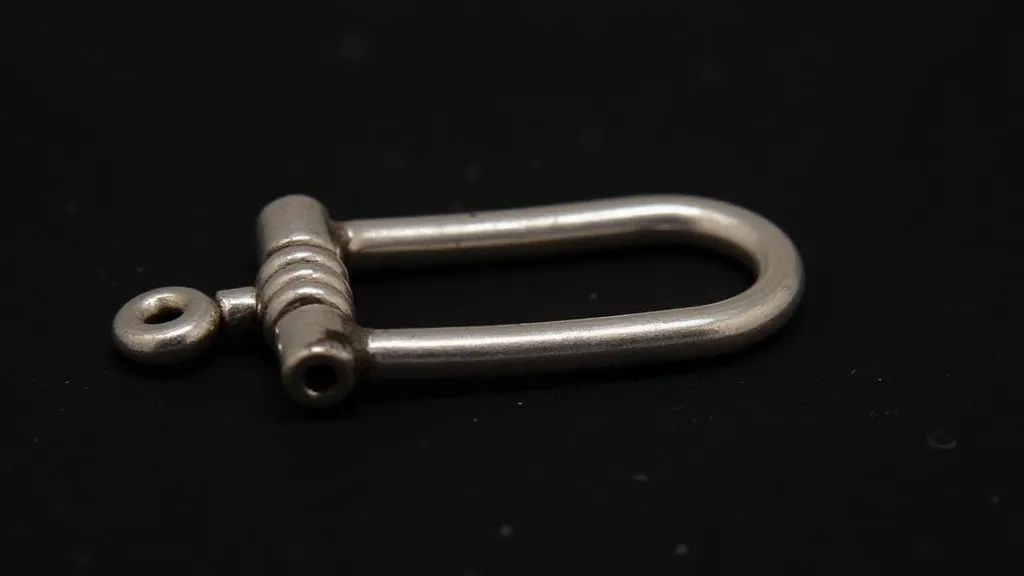
The clasp consists of two main pieces: the toggle loop and the bar that fits through it. First, cut a rectangular piece of silver sheet approximately 1.5 inches long and 0.5 inches wide for the bar. Then, cut a slightly larger, more rounded piece of silver sheet – about 2 inches long and 0.75 inches wide – for the toggle loop. Remember to always prioritize safety; ensure your workspace is well-ventilated and wear safety glasses to protect your eyes from flying debris.

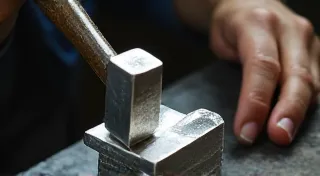
Step 2: Shaping the Bar
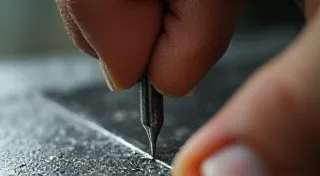
Using your files, shape the rectangular silver bar into a tapered shape. One end should be rounded and smooth, while the other tapers slightly to allow it to pass easily through the toggle loop. Bevel the edges slightly to prevent sharp corners. Precision in this step ensures a smooth and functional clasp. The process of shaping often benefits from an understanding of proper tool use. For those completely new to silversmithing, it's a good idea to first practice filing on scrap silver to get a feel for the tools and techniques involved.

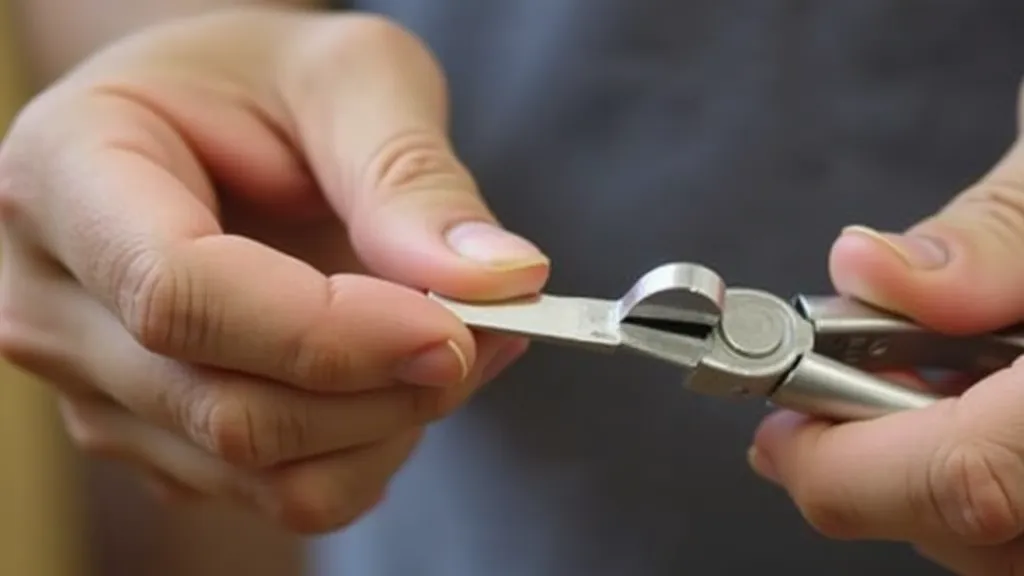
Step 3: Forming the Toggle Loop
The toggle loop requires a little more finesse. Use the round-nose pliers to gently curve the silver sheet into a loop shape. It doesn't need to be a perfect circle; a slightly organic shape looks quite charming. Make sure the loop is large enough to accommodate the silver bar. Careful manipulation of the metal at this stage is crucial. The goal is to create a strong and aesthetically pleasing loop that will reliably hold the bar in place. The tools you choose and the way you apply pressure will impact the final shape. If you're struggling with forming smooth curves, consider watching videos or taking a short class demonstrating the proper technique.
Step 4: Soldering the Loop (Optional but Recommended)
For added strength and a cleaner look, soldering the loop is highly recommended. This step isn't essential for functionality, but it significantly enhances the clasp's durability and professional appearance. If you are newer to silverwork, mastering the art of silver soldering is an investment in your skill set. Applying flux correctly and controlling the torch's heat are key to a successful solder joint. A poor solder joint can weaken the clasp and make it more prone to breakage. Carefully apply flux to the joint and carefully apply heat with the torch until the solder flows smoothly. Quench the piece in water and dry thoroughly. This step significantly improves the durability of your clasp.
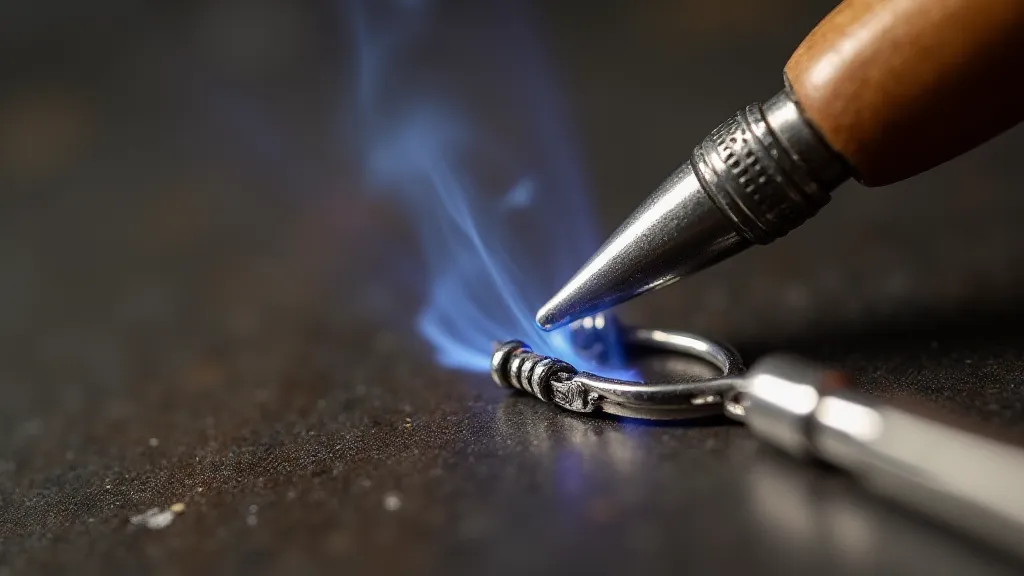
Understanding the Soldering Process
Soldering involves creating a metal bond between two pieces using a lower-melting-point alloy. The process requires careful preparation, including cleaning the surfaces to be joined and applying flux to prevent oxidation. Controlling the heat from the torch is crucial; too much heat can damage the silver, while too little heat will prevent the solder from flowing properly. A slight yellowing of the silver indicates the correct temperature. Proper ventilation is also essential, as soldering releases fumes that can be harmful to your health.
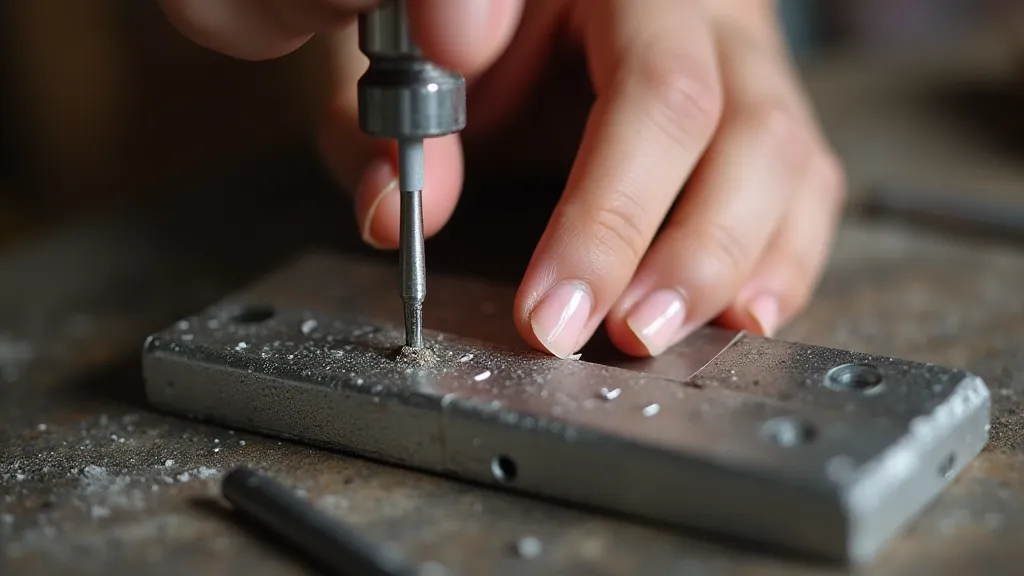
Step 5: Drilling a Hole in the Bar (Optional)
Some designs incorporate a small hole drilled near the rounded end of the bar. This can be purely decorative or can be used to attach a charm or embellishment. This step requires a small drill bit and is best done before final polishing. Be very careful when drilling and secure the piece firmly. The size and placement of the hole can greatly affect the overall aesthetic of the clasp. Consider the weight of any embellishments you plan to attach when choosing the size of the drill bit.
Step 6: Polishing and Finishing
Now for the satisfying part! Use polishing compounds and tools to bring out the shine of your silver clasp. Start with a coarser compound to remove scratches and imperfections, then progress to finer compounds for a mirror finish. A doming hammer can be used to gently curve the loop for a more refined look. Remember to clean your tools after each polishing stage to prevent contamination and ensure optimal results. Proper polishing not only enhances the appearance of the clasp but also protects it from tarnish.
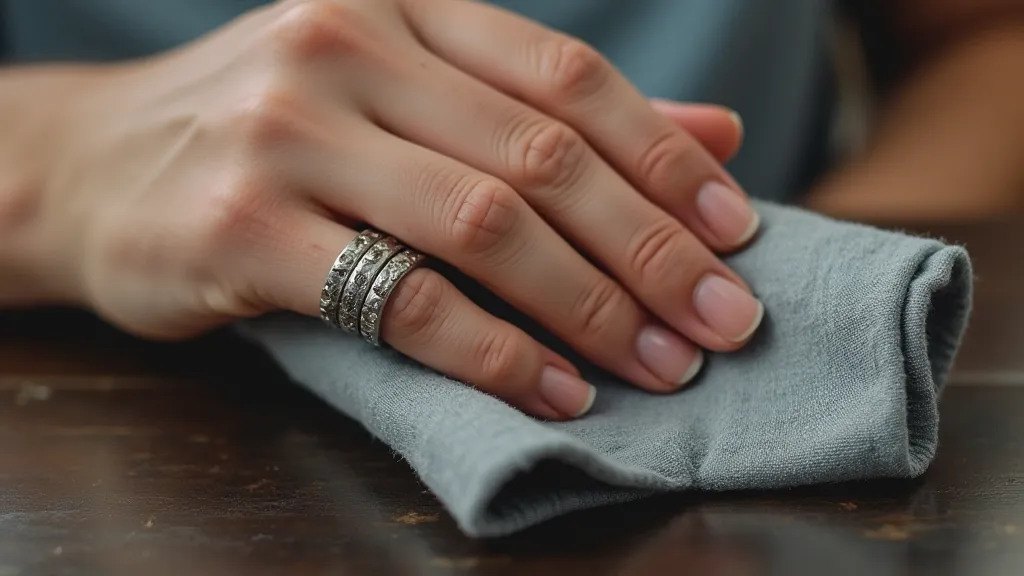
Maintaining Your Silver Jewelry
Once your clasp is complete, proper care and cleaning are essential to maintain its beauty. Regular cleaning with appropriate cleaning silver solutions will prevent tarnish and keep your clasp looking its best. Avoid harsh chemicals and abrasive cleaners, as these can damage the silver's surface.
Congratulations!
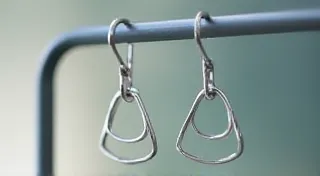
You’re now equipped with a beautiful, handcrafted silver toggle clasp! This project not only teaches you valuable silversmithing techniques, but also provides a useful component for your jewelry creations. Don’t be afraid to experiment with different shapes and embellishments to personalize your clasps even further. This same set of skills can be applied to other jewelry components as well, like simple silver earrings, opening up a whole new world of creative possibilities.