Your First Silver Ring: A Beginner's Silversmithing Project
Welcome to the wonderful world of silversmithing! This tutorial is specifically designed for absolute beginners who are eager to create their very own piece of jewelry. We're going to guide you step-by-step through the process of crafting a simple sterling silver ring. Don’t worry if you've never touched metalworking tools before – this project focuses on fundamental techniques that will build your skills for more complex jewelry making in the future. Silversmithing encompasses a huge range of processes, from simple bending and forming to intricate techniques like raising and repoussé, but we're starting with the basics here.
What You'll Learn
- How to accurately measure your finger size
- Basic sawing techniques to cut your silver
- Filing for precision and smoothing edges
- The essential art of soldering silver
- Polishing your ring to a brilliant shine
- Understanding the importance of appropriate tools and safety precautions
Materials You’ll Need
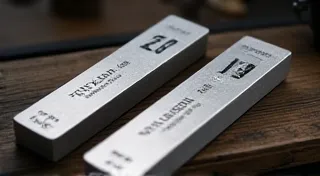
- Sterling Silver Sheet (approximately 20 gauge – a small piece is enough for a practice ring)
- Sterling Silver Solder (easy-flow is recommended for beginners)
- Flux
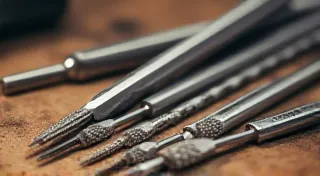
- Sawing Blade (appropriate for silver)
- Files (various shapes and grits)
- Soldering Torch (propane or butane)
- Polishing Cloth
- Ring Mandrel
- Pliers (round nose, chain nose)
- Safety Glasses – absolutely essential!
- Ventilation (very important when soldering! – invest in a fume extractor if possible)
- Brass Brush – for cleaning silver surfaces
Step-by-Step Instructions
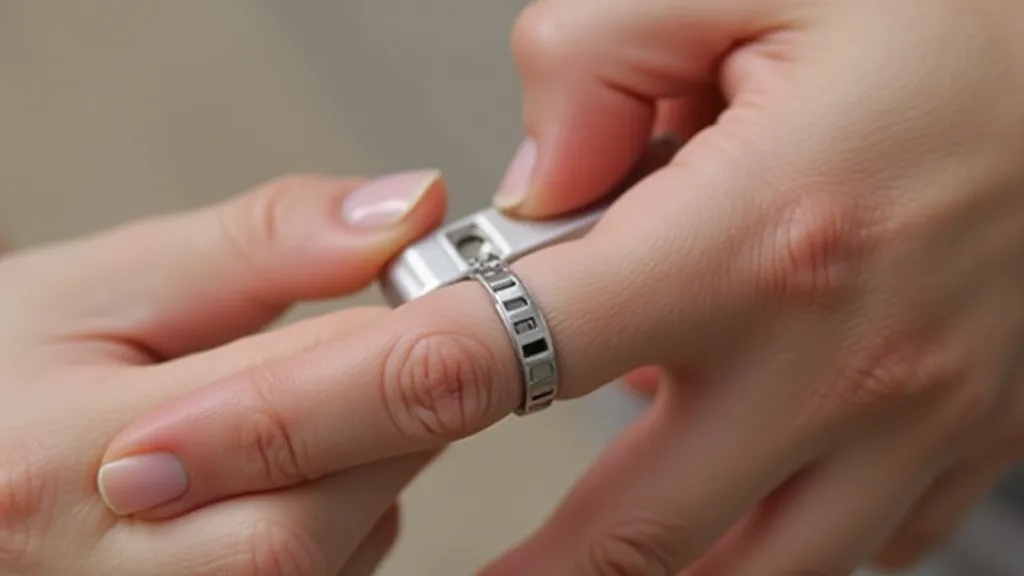
1. Measuring Your Finger
Accurate measurement is key! Use a ring sizer, or wrap a thin strip of paper or thin string snugly around your finger, marking where it overlaps. Measure the length of the paper or string with a ruler. Consult a ring sizing chart online to determine your ring size. Add a small amount (around 1/16") to the measurement to allow for comfort. Remember that ring size isn't everything – the comfort and fit depend on the ring’s profile and thickness too.
2. Cutting and Shaping the Silver
Transfer your ring size to the sterling silver sheet. Use a sharp pencil to draw a line representing the ring’s circumference. Now, carefully saw along the line. This may take some practice! Keep your hand steady and let the saw do the work. Understanding how silver behaves when being formed is crucial. Applying too much force can deform the metal. Before you start, it’s a good idea to familiarize yourself with basic silver forming techniques. Now, use files to refine the shape. File the edges smooth and even, shaping the ring to your desired profile. Round the edges for comfort.
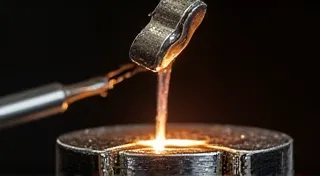
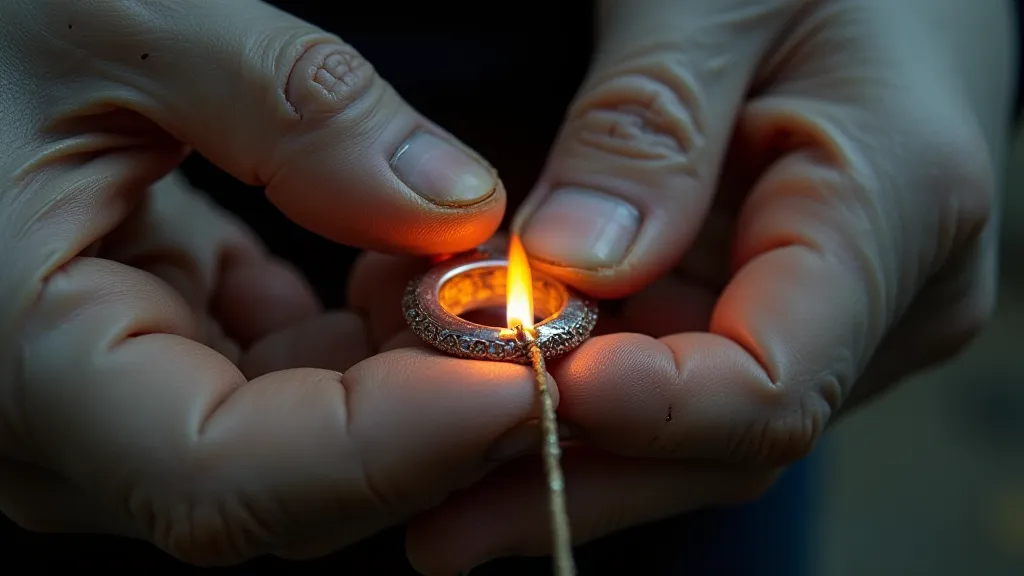
3. Soldering the Ring
This is where flux comes in! Clean the edges of the silver to be joined with a brass brush. Apply flux to the joint where the silver ends meet. Heat the joint with your torch until the flux melts and you see the silver flow together. Let it cool completely before proceeding. Soldering requires practice to get the heat just right – too much heat can damage the silver, too little and the joint won’t hold. The temperature you're aiming for isn't arbitrary; it's based on the melting points of the silver and the solder. Proper ventilation is absolutely vital during this stage – fumes from soldering can be harmful.
4. Shaping and Sizing
Place the newly soldered ring onto a ring mandrel. Gently tap the mandrel with a chasing hammer to shape the ring to its final size. Be careful not to apply too much force, as you could distort the silver. Check the fit on your finger frequently. The mandrel’s size corresponds to specific ring sizes, so make sure you're using the correct one. If you're finding it difficult to shape the ring evenly, consider the effect of annealing – a process that softens the silver, making it more malleable. It's a crucial skill to learn for any silversmith.
5. Polishing
The final step is polishing! Use a polishing cloth to buff the ring to a brilliant shine. You can use different grades of polishing compounds to achieve a deep, lustrous finish. Regular polishing will keep your ring looking its best. Start with a coarse compound to remove any scratches, then move to finer compounds for a mirror finish. Understanding the different grades of polishing compounds, and how they work, will help you achieve the best possible results.

Essential Tools and Safety
Beyond the materials listed above, a few essential tools will make your silversmithing journey much smoother. Investing in quality tools will save you frustration in the long run. Essential silversmithing tools include a good quality saw frame, a variety of files, pliers, and a ring mandrel. Safety is paramount in any workshop, and silversmithing is no exception. Always wear safety glasses to protect your eyes from flying debris, and ensure adequate ventilation when soldering. A fume extractor is highly recommended to remove harmful fumes.
Understanding Silver and its Properties
Sterling silver, an alloy of silver and copper, offers a good balance of strength and workability. However, silver can become brittle with repeated working. Annealing silver is a simple process of heating the metal to soften it again, allowing you to continue working it without cracking. Knowing when and how to anneal silver is a cornerstone of silversmithing.
Beyond the Basics: Exploring Advanced Techniques
This project lays the foundation for a lifetime of creative exploration. Once you’re comfortable with these basic techniques, you can explore more advanced processes like raising and repoussé, which involve shaping the silver through hammering and specialized tools. These techniques allow you to create three-dimensional forms and intricate designs.
Congratulations!
You’re now the proud creator of your very own sterling silver ring! This beginner project has introduced you to essential silversmithing techniques. With practice and a little imagination, you can create a wide variety of beautiful and unique jewelry pieces. Don't be afraid to experiment and push your boundaries – the world of silversmithing is waiting to be explored!