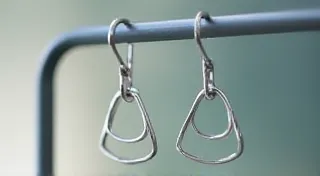
Making a Simple Silver Pendant: A Step-by-Step Guide
Create your own unique silver pendant, perfect for showcasing your skills.
Introduction to Silversmithing: A Beginner's Pendant Project
Welcome to the wonderful world of silversmithing! This guide is specifically designed for beginners eager to learn basic jewelry making techniques. We're going to create a simple silver pendant, a perfect starting point for your silversmithing journey. No need for fancy tools – just the basics will do. This project introduces you to sawing, filing, soldering, and polishing - core skills for any metalworking craft.
Materials You'll Need
- Silver Sheet: Approximately 20 gauge (0.8mm) - a piece roughly 2” x 3” is plenty.
- Silver Wire: 20 gauge (0.8mm) for a bail (loop for the chain).
- Flux: Specifically for silver soldering.
- Solder: Easy-flow silver solder.
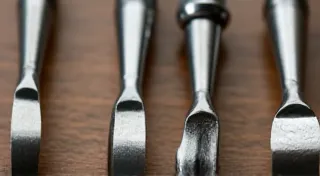
- Saw Frame & Blades: Fine-tooth blades are best.
- Files: A selection of flat, round, and half-round files.
- Soldering Torch: A small torch designed for jewelry making.
- Soldering Pick: For holding pieces in place during soldering.
- Tweezers: For handling small components.
- Polishing Cloth: For bringing out the shine.
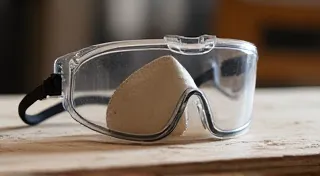
- Safety Glasses: Always protect your eyes!

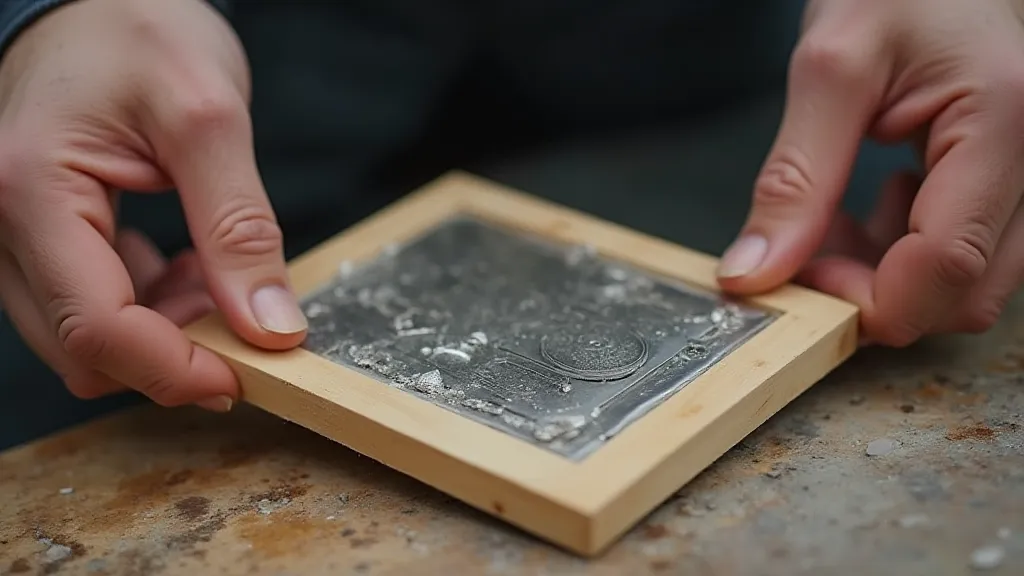
Step 1: Designing Your Pendant
Before you start cutting, think about the shape of your pendant. It can be anything – a simple circle, a square, a leaf, or something completely unique! Draw your design onto the silver sheet with a pencil. This will serve as your cutting guide.
Step 2: Sawing the Design
Secure the silver sheet in your saw frame. Following your drawn line, carefully saw out the design. Go slowly and steadily. It's better to saw a little less than too much at this stage – you can always file it down later.
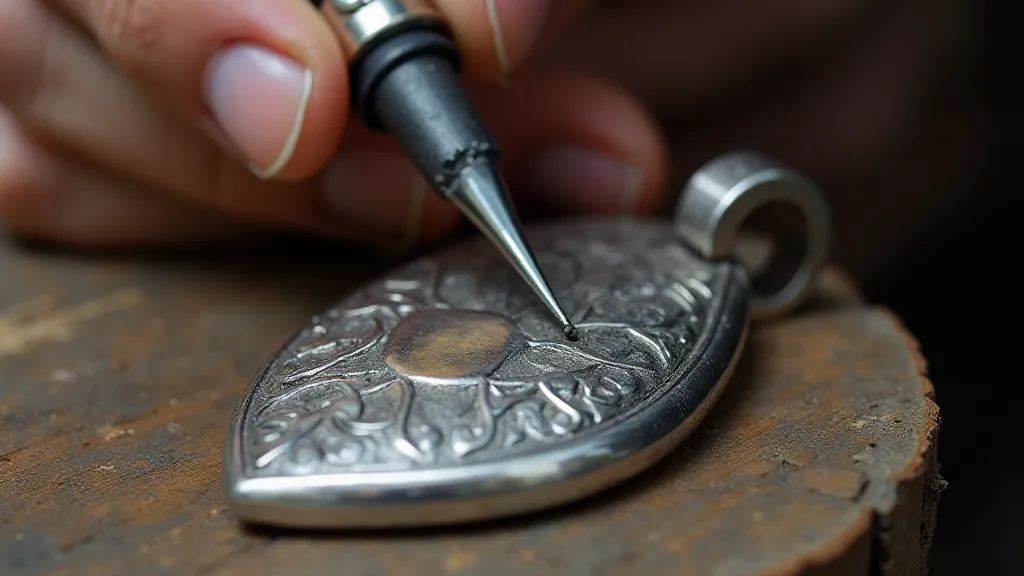
Step 3: Filing and Shaping
Once you've sawn out the basic shape, use your files to refine the edges. Use the flat file to smooth any rough spots, the round file to create curves, and the half-round file for a combination of both. Take your time and file evenly to achieve a professional look.

Step 4: Creating the Bail (Loop)
Cut a piece of silver wire approximately 4-5 inches long. Form this wire into a loop, ensuring it’s large enough to accommodate a chain. Secure the wire in place for soldering.

Step 5: Soldering the Bail to the Pendant
This is arguably the most important step. Apply flux to the areas where the bail will attach to the pendant. Place the bail in position. Apply solder according to your solder's instructions. Use the torch to heat the joint evenly, ensuring the solder flows and joins the wire to the pendant. Let it cool slowly.
Step 6: Pickling and Cleaning
After soldering, the piece needs to be pickled to remove oxidation. Follow the instructions on your pickling solution. Rinse thoroughly with water.
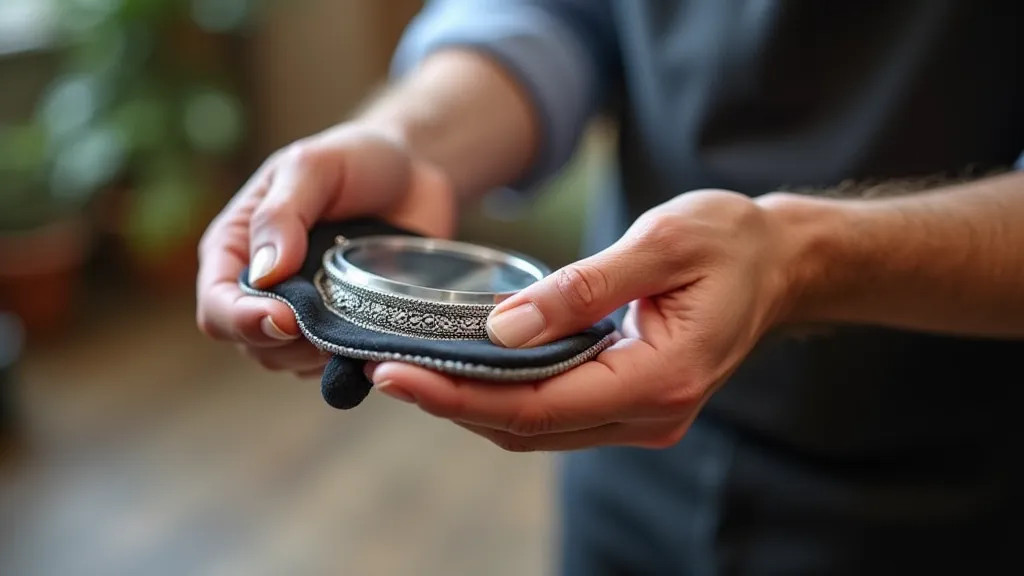
Step 7: Polishing to a Shine
Finally, use a polishing cloth to bring out the shine of your silver pendant. Rub gently but firmly until the surface is smooth and reflective.
Conclusion
Congratulations! You've made your first silver pendant. This simple project lays the foundation for more complex silversmithing techniques. Don't be discouraged if it’s not perfect the first time – practice makes perfect! Experiment with different designs, shapes, and techniques to develop your own unique style.