Mastering the Art of Silver Soldering: A Step-by-Step Tutorial
Soldering is a fundamental skill for any aspiring silversmith. It allows you to join silver pieces together, creating intricate jewelry designs and metalwork creations. While it might seem daunting at first, with the right knowledge and practice, you can master this essential technique. This tutorial breaks down the silver soldering process step-by-step, ensuring a successful and enjoyable experience, even for beginners. Understanding the principles of joining metals isn't just about soldering; it’s about a whole skillset applicable across various metalworking disciplines. If you're new to the world of metal crafting, you might find exploring different tools incredibly beneficial. For example, understanding how to choose the right files for silver can drastically improve the precision and quality of your work, contributing significantly to the final look and feel of your soldered creations.
Understanding the Basics: What is Silver Soldering?
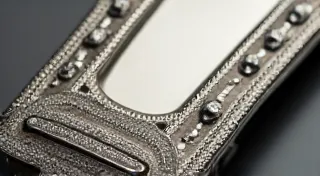
Silver soldering, also known as hard soldering, uses a silver-based solder to join two pieces of silver or silver alloy. It's stronger than soft soldering and requires higher temperatures. The process involves heating the base metals to a specific temperature so the solder melts and flows into the joint, creating a permanent bond. Unlike soft soldering, which is primarily for electrical connections and repairs, silver soldering creates a lasting mechanical bond that can withstand considerable stress.
Essential Tools and Materials
Before you begin, gather these essential tools and materials:
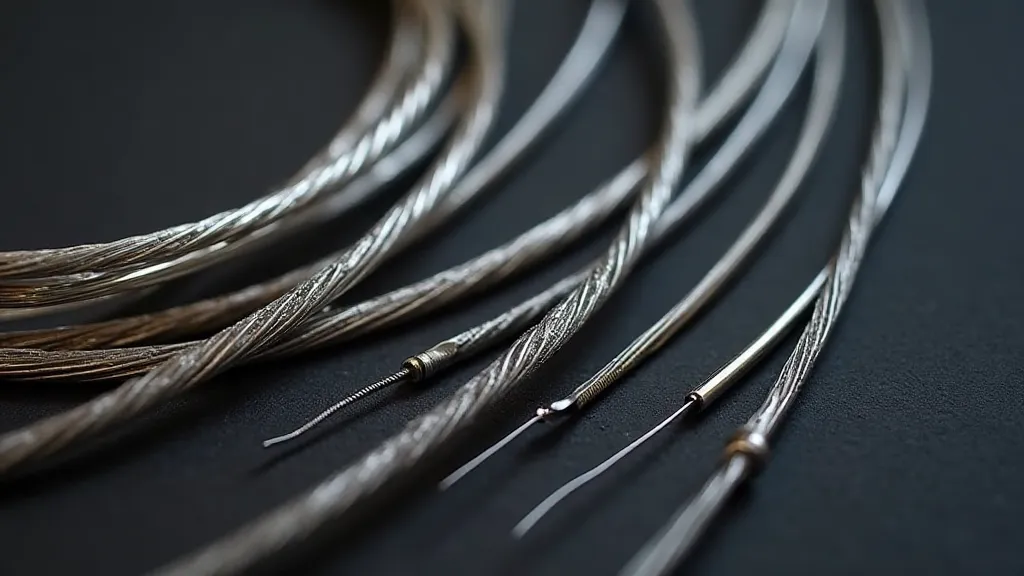
- Silver Solder: Choose the appropriate solder gauge for your project. A 20 gauge solder is a good starting point. Consider the project's demands; for intricate designs, thinner gauges offer greater maneuverability.
- Flux: This cleans the metal surfaces and prevents oxidation. Using the correct flux is critical; different types are suited for different metals and soldering situations.
- Torch: A propane or butane torch is commonly used. The choice of torch depends on your budget and the scale of your projects.
- Fire-Resistant Surface: A soldering board or fire brick. Safety is paramount; always work on a non-flammable surface.
- Tweezers: For handling hot pieces. Invest in quality tweezers with insulated handles.
- Pickle Solution: (Optional, but recommended for cleaning after soldering) A neutralizing solution that removes oxides and flux residue.
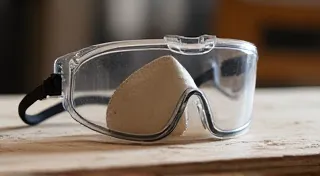
- Safety Glasses: Absolutely essential! Protect your eyes from flying debris and intense light.
- Ventilation: Good ventilation is crucial to remove fumes. Solder fumes can be harmful, so work in a well-ventilated area or use a fume extractor.
Step-by-Step Silver Soldering Guide
- Preparation is Key: Thoroughly clean the surfaces of the silver pieces you intend to join. Use a fine abrasive, like sandpaper or a polishing cloth, to remove any dirt, grease, or oxides. Even the slightest contamination can prevent the solder from adhering properly. This cleaning step is often underestimated, but it's arguably the most important.
- Joint Alignment: Ensure the pieces are precisely aligned. A strong, clean solder joint depends on perfect alignment. Use clamps or third hand tools to hold the pieces in place. Misalignment will compromise the joint’s strength and appearance. Think about how this precision applies to your design - often the final aesthetic is dictated by the initial layout.
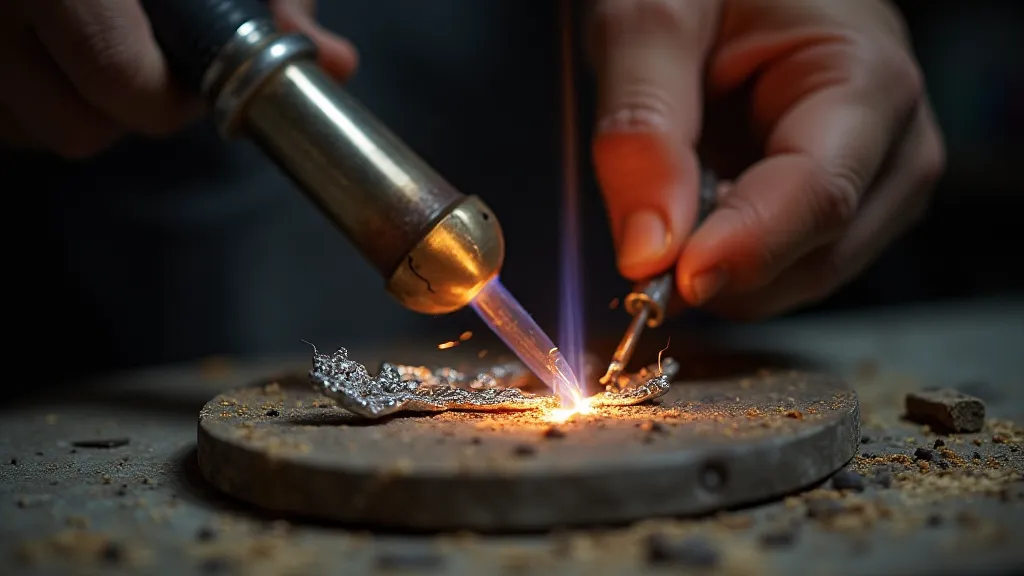
- Flux Application: Apply a thin, even layer of flux to both surfaces of the joint. Don't use too much – a little goes a long way. The flux creates a protective barrier, preventing oxidation during heating.
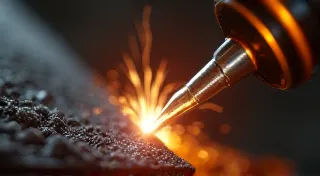
- Heating the Metal: This is where practice is vital. Begin heating the metal around the joint, NOT the solder itself. The goal is to bring the metal to a temperature where the solder will melt and flow. Avoid overheating, which can damage the silver and burn away the flux. Observe the flux – it will become fluid and start to bubble when the correct temperature is reached. It’s a gradual process, and requires careful observation of the metal and the flux. Consider the overall design and how the heat will be distributed evenly.
- Applying the Solder: Once the metal is hot enough, touch the solder to the joint. It should melt and flow into the gap. Don’t force it! If the solder doesn’t flow, the metal isn’t hot enough. The solder should be drawn into the joint by capillary action.
- Cooling and Cleaning: Allow the joint to cool naturally. Once cool, clean the piece with a wire brush or pickle solution to remove any flux residue. This is important to prevent discoloration. A thorough cleaning is essential for a professional finish.
Common Mistakes and Troubleshooting
Here are some common problems and their solutions:
- Solder Balling: This happens when too much solder is applied. Use less solder. It often results from rushing the process and not observing the joint carefully.
- Joint Not Bonding: The metal wasn’t clean enough, or the temperature wasn't high enough. Clean the surfaces thoroughly and increase the torch intensity slightly. Also, ensure the flux is properly applied and hasn’t burned away prematurely.
- Burned Flux: You're overheating the metal. Reduce the torch intensity and focus the flame more precisely. A controlled flame is essential for consistent results.
- Oxidation: Protect the joint from drafts while soldering to minimize oxidation. A draft can disrupt the heating process and lead to uneven results.
Beyond troubleshooting individual issues, creating beautiful, lasting silver pieces often involves more than just the fundamental soldering process. Learning to creating textures on silver using hammering techniques can add depth and visual interest to your work, transforming a simple join into a design feature.

Safety First!
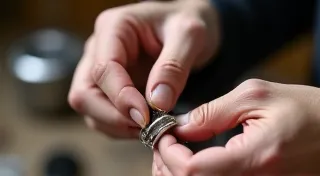
Silver soldering involves high temperatures and potential hazards. Always wear safety glasses to protect your eyes. Work in a well-ventilated area to avoid inhaling fumes. Keep a fire extinguisher nearby and be mindful of flammable materials. Practice makes perfect – start with small, simple projects and gradually increase the complexity as your skills improve. Remember that consistent safety practices are just as important as mastering the technique itself. And finally, if you're new to metalwork, taking on a project like your first silver ring is a great way to apply your newfound soldering skills to a tangible and rewarding outcome. It’s a challenging but achievable goal that will build your confidence and refine your technique.
With practice and patience, you'll be soldering like a pro in no time! Happy silversmithing!