Soldering 101: Your Guide to Joining Silver Pieces
Welcome to the exciting world of silversmithing! One of the core skills you’ll need to master is soldering. It’s how we join pieces of silver together to create beautiful jewelry and metalwork. While it might seem intimidating at first, with a little understanding of the process and some practice, you’ll be soldering like a pro in no time. This guide breaks down the basics for beginners.
What is Soldering?
Soldering is a method of joining metals using a lower melting point metal, called solder. Heat is applied to the metals being joined, causing the solder to melt and flow into the joint, creating a strong bond. It’s different from welding, which uses much higher temperatures and fuses the metals together. Understanding the basics of metal preparation is also key to success - you're essentially creating a secure bond between two pieces, and the cleaner the surfaces, the stronger the result.

Essential Supplies
Before you start, gather these essential supplies:
- Silver Solder: Available in different grades (hard, medium, easy). As a beginner, start with easy or medium flow solder. Knowing which solder grade to use is critical. You might find yourself considering the best tools for the job, and that might lead you to wanting to know more about choosing the right files for silver - a crucial step in achieving clean, accurate joints.
- Flux: This prevents oxidation during heating, allowing the solder to flow properly.
- Torch: A propane or MAPP gas torch is commonly used.
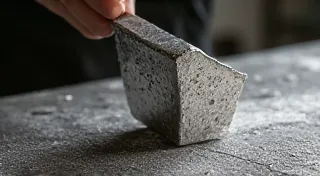
- Firebrick or Soldering Pad: To protect your work surface.
- Tweezers or Soldering Pick: To manipulate pieces.
- Safety Glasses: To protect your eyes.
- Ventilation: Good ventilation is crucial!
The Soldering Process: Step-by-Step
- Preparation is Key: Ensure the silver pieces are clean and fit together precisely. Any grease or dirt will prevent the solder from adhering. This includes proper filing and shaping, something you'll get better at over time.
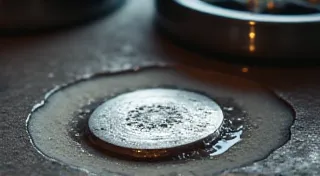
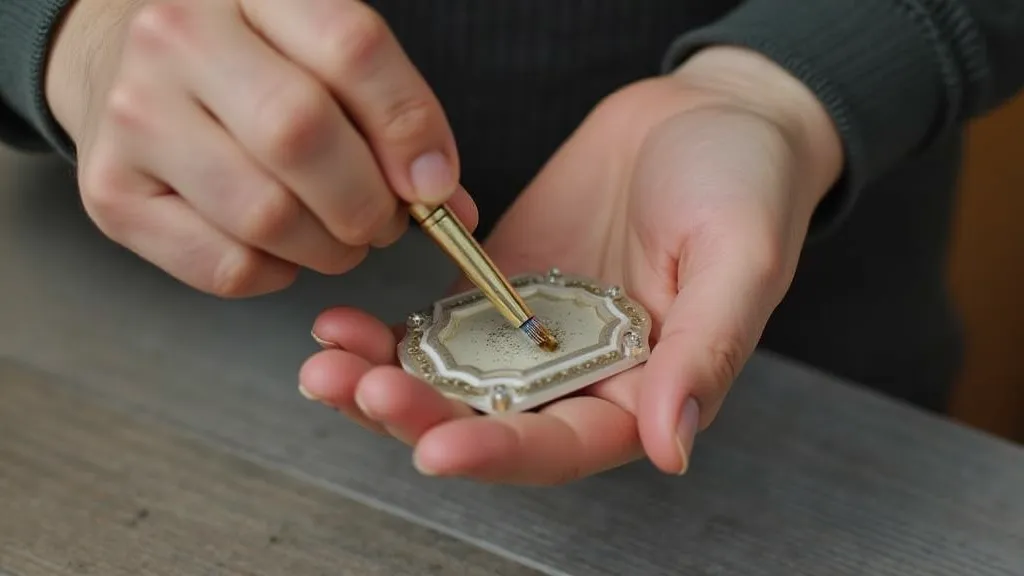
- Applying Flux: Apply a thin, even layer of flux to the joint area where the solder will flow.
- Positioning: Secure the pieces in the desired position using tweezers or a soldering pick.
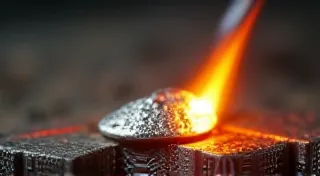
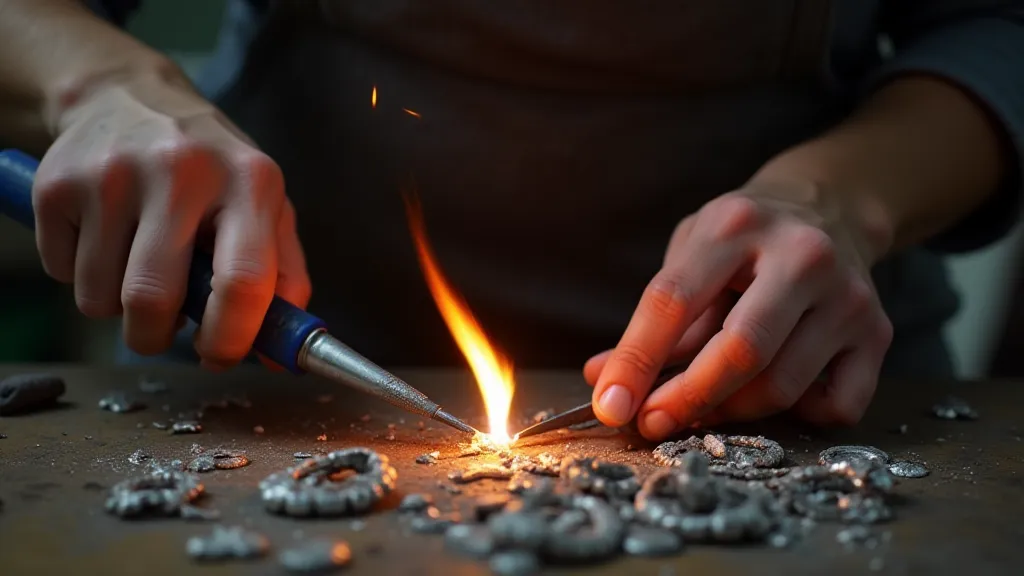
- Heating: Begin heating the silver pieces evenly. Don’t focus the flame directly on the solder at first. You want the silver itself to reach the proper temperature – often described as "white heat." This requires practice and careful observation of the metal's color changes.
- Applying the Solder: Once the silver is hot enough, touch the solder to the joint. The heat from the silver will melt the solder, drawing it into the joint. The skill comes in delivering the right amount of heat, not too much and not too little.
- Let it Cool: Allow the joint to cool naturally. Quenching (rapid cooling in water) can weaken the joint. A slow, controlled cooling process is essential for a strong bond.
- Cleaning: After cooling, remove the flux residue with a pickle solution (a diluted acid – always handle with caution and proper ventilation).
Understanding Heat Control
Heat control is *critical* to successful soldering. Too little heat and the solder won't flow. Too much heat can melt the silver. Observe the color of the silver – it should transition to a dull red, then to white heat. Practice controlling the flame’s intensity and movement. It’s a process of learning to “read” the metal and respond accordingly. Achieving a consistent result takes time and careful attention.
Choosing the Right Solder
Solder comes in different grades based on its melting point:
- Hard Solder: Requires higher temperatures, suitable for joining thicker pieces.
- Medium Solder: A good all-around choice for most projects.
- Easy Solder: Melts at a lower temperature, ideal for beginners or delicate work. This is often the best place to start, allowing you to develop your technique without the risk of damaging the silver. Eventually, you may want to move on to more challenging projects, such as crafting a simple silver ring, where a different solder grade might be required.
Safety First!
Soldering involves fire and fumes. Always prioritize safety:
- Wear safety glasses.
- Work in a well-ventilated area.
- Keep a fire extinguisher nearby.
- Handle pickle solutions with extreme caution.

Beyond the Basics: Achieving a Professional Finish
Once you're comfortable with the soldering process itself, the next step is to focus on the aesthetics of your work. A perfectly joined piece is only as good as its final appearance. This involves proper cleaning, filing, and, ultimately, polishing silver to achieve a high shine. There are numerous techniques to master, from using different grades of abrasive to understanding the subtleties of surface preparation.
Troubleshooting Common Soldering Problems
Even with practice, you're bound to encounter problems. Here are a few common issues and how to address them:
- Solder not flowing: This could be due to insufficient heat, dirty surfaces, or a problem with the flux. Double-check everything and try again.
- Silver melting: You're using too much heat. Reduce the flame intensity and focus on heating the joint evenly.
- Weak joints: This could be due to rapid cooling (quenching), dirty surfaces, or incorrect solder grade.
- Oxidation: Proper flux application is key to preventing oxidation.
Expanding Your Silversmithing Skills
Soldering is just the foundation of silversmithing. Once you're confident with the basics, you can explore a wide range of techniques, including:
- Raising and forming: Shaping silver into three-dimensional forms.
- Texturing: Creating patterns and designs on the silver surface.
- Enameling: Fusing glass to the silver surface to create colorful designs.
- Stone setting: Embedding gemstones into silver settings.
Resources for Continued Learning
The world of silversmithing is vast and rewarding. Here are a few resources to help you continue your learning journey:
- Online forums: Connect with other silversmiths and share tips and advice.
- Workshops: Take in-person classes to learn new techniques from experienced instructors.
- Books and magazines: Explore a wealth of information on silversmithing techniques and design.
Soldering takes practice. Don’t be discouraged if your first attempts aren’t perfect. Start with simple projects and gradually increase the complexity as your skills improve. Happy soldering!