Basic Silver Forming Techniques: Hammering, Bending, and Shaping
Welcome to the exciting world of silversmithing! One of the most fundamental skills for any aspiring jeweler is the ability to form silver into the shapes you desire. This article will cover the core techniques: hammering, bending, and shaping – the building blocks for creating stunning jewelry components. This beginner-friendly guide assumes no prior experience and focuses on mastering the basics.
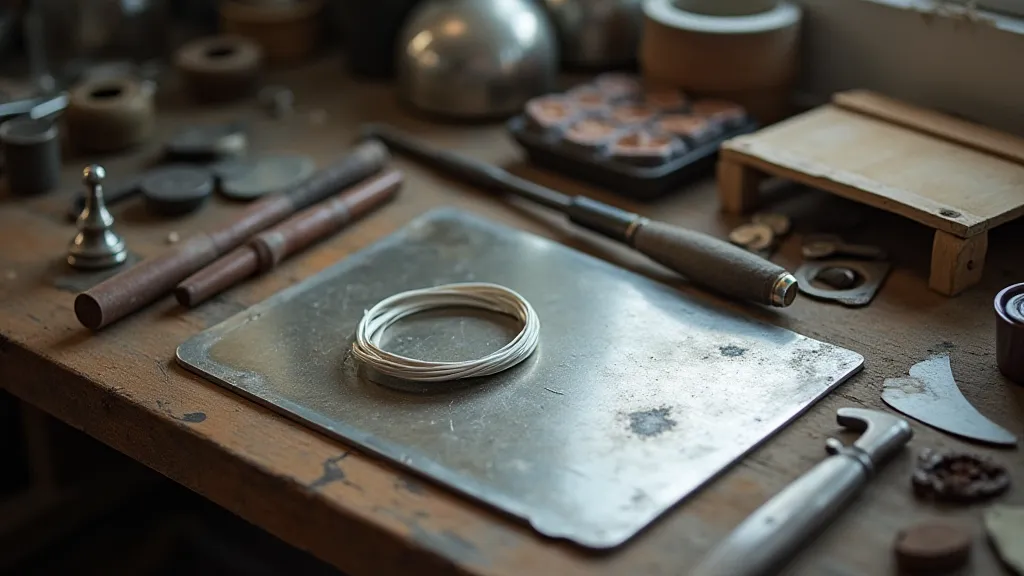
Understanding Your Tools
Before you start hammering away, let’s familiarize ourselves with essential tools. While you can begin with a minimal set, understanding the purpose of each will speed your progress.
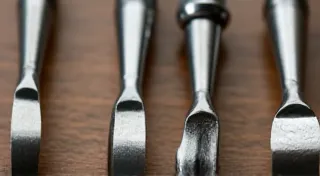
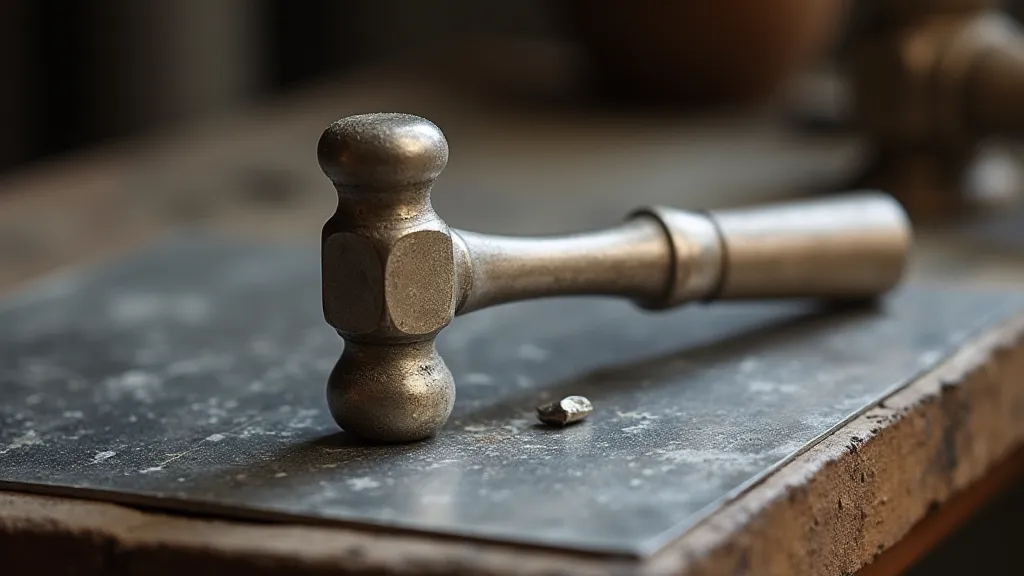
Hammers
Different hammers serve different purposes. Here are a few you’ll want to know about:
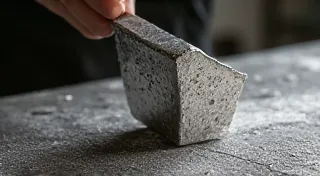
Stakes and Anvils
Stakes are metal forms used as a base for hammering and shaping. They provide support and help control the angle of the hammer blow. A small anvil can also serve as a stake. Common types include:
Hammering: Texturing & Strengthening
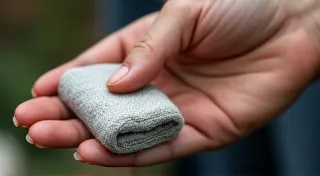
Hammering isn't just about changing shape; it's about texturing and strengthening the silver. Controlled hammering work-hardens the metal, making it more durable and adding visual interest. If you're particularly interested in achieving diverse surface treatments, exploring techniques like creating textures on silver will open up a whole new realm of possibilities.
Bending: Creating Curves
Bending silver requires finesse and a good understanding of how the metal will respond to pressure. Overbending can cause cracking, so proceed slowly. The finished piece can benefit greatly from a good polish, and we have a separate guide for polishing silver to help achieve that beautiful shine.
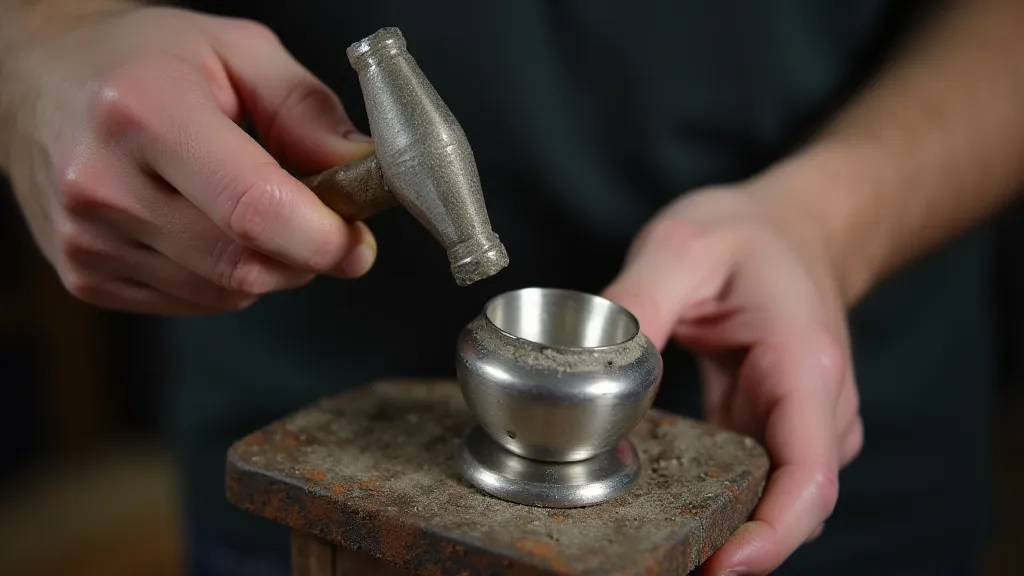
Shaping: From Flat to Form
Shaping combines hammering, bending, and controlled pressure to create three-dimensional forms. This often involves a process called ‘raising,’ where a flat piece of silver is gradually formed into a hollow shape, like a bowl or a cup.
Beyond the Basics: Annealing and Metal Considerations
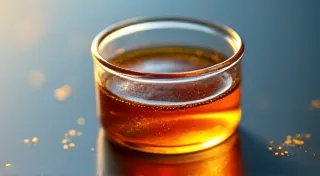
Silver, while beautiful and malleable, has its limitations. It’s crucial to understand its behavior under pressure and heat. One of the most common challenges is work-hardening. Each hammer blow, each bend, introduces stress into the metal's crystalline structure, making it more brittle. This is why annealing – a controlled heating and cooling process – becomes a vital part of the silversmithing workflow. It essentially ‘resets’ the metal’s structure, returning it to a more workable state.
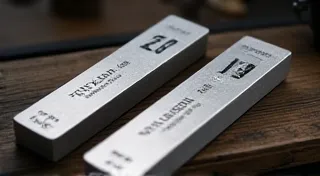
The silver itself also matters. Different grades of silver, and alloys, will respond differently to forming techniques. Sterling silver (92.5% silver, 7.5% copper) is a standard choice for jewelry due to its balance of malleability and durability. However, other alloys, like fine silver (99.9% silver), while softer, can be more challenging to work with for beginners. Understanding the properties of your chosen metal is key to achieving successful results.
Expanding Your Toolkit: Specialized Stakes & Tools
While the basic tools – hammers, stakes, pliers – are essential, expanding your toolkit with specialized forms can significantly improve your ability to create complex shapes. Consider investing in:
- Half-Round Stake: Ideal for creating rounded forms and gentle curves.
- Well Stake: Helps create deep, symmetrical forms.
- Swage Block: Provides more precise shaping capabilities.
Each of these tools offers a unique advantage in achieving specific forms, and experimenting with them will allow you to refine your silversmithing skills and push the boundaries of your creativity.
Tips for Beginners
Mastering these basic silver forming techniques is the foundation for any successful silversmith. With practice and patience, you’ll be creating beautiful, three-dimensional jewelry components in no time!