The Art of Raising and Repoussé in Silversmithing
Welcome to the fascinating world of raising and repoussé! These complementary techniques are fundamental to adding depth, dimension, and a handcrafted feel to your silver jewelry and metalwork. While they might seem intimidating at first, with practice and a little understanding of the principles, you can incorporate them into your silversmithing projects.
Understanding the Techniques
Let's break down what raising and repoussé actually are. Essentially, they're about manipulating flat sheet metal to create relief – to make it bulge out. Think of it like sculpting, but with silver!
Repoussé: The Push
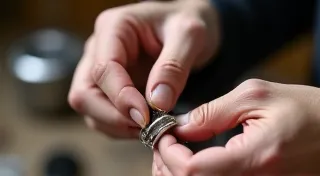
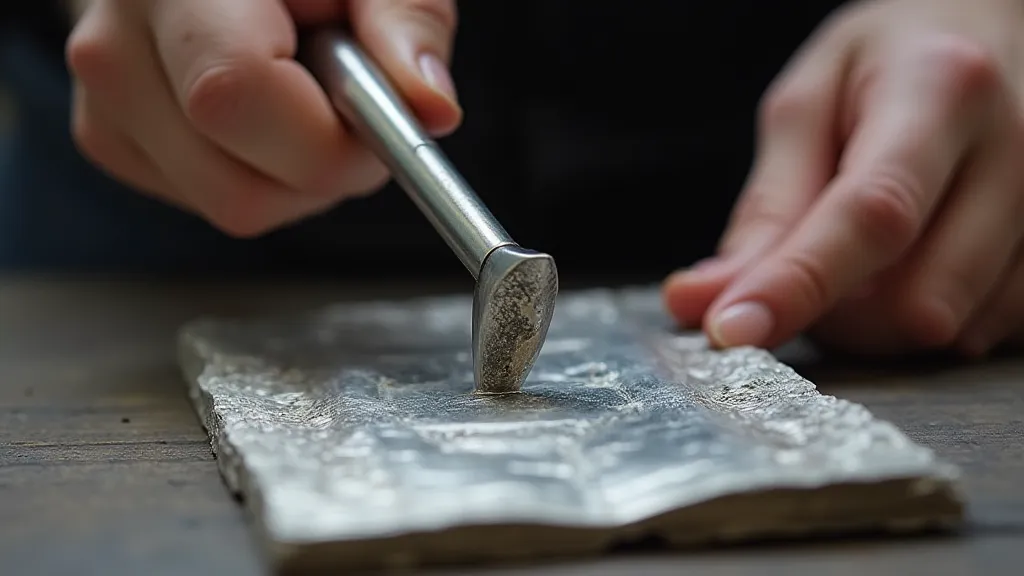
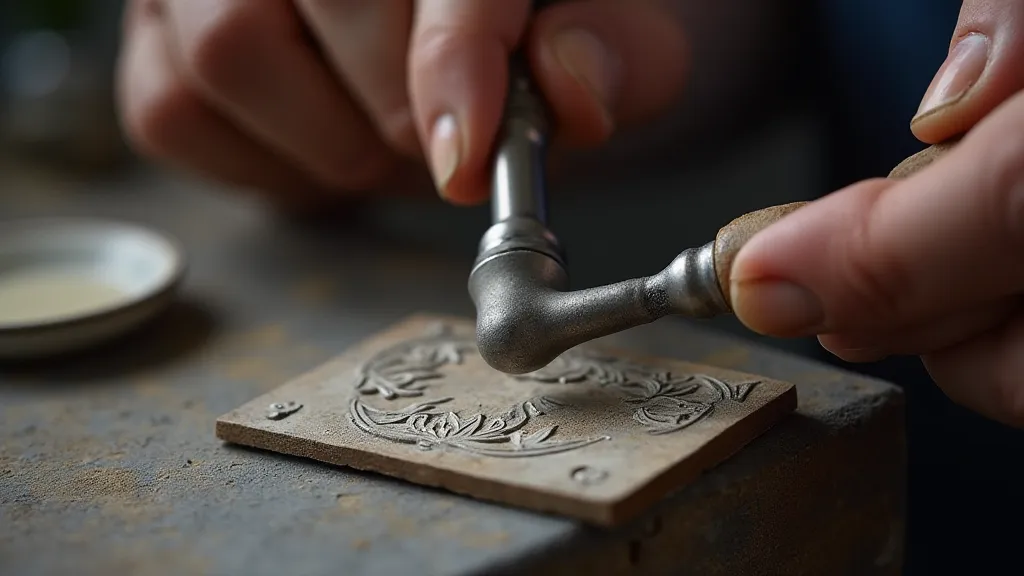
Repoussé (pronounced ruh-poo-say) is the technique of *pushing* the metal from the front. You work from the front side of the silver sheet, using a chasing hammer and a variety of punches to gently push the metal outwards. The back of the silver will become slightly stretched and distorted. It's a slow and deliberate process that requires a feel for the metal's response to the hammer.
Raising: The Pull
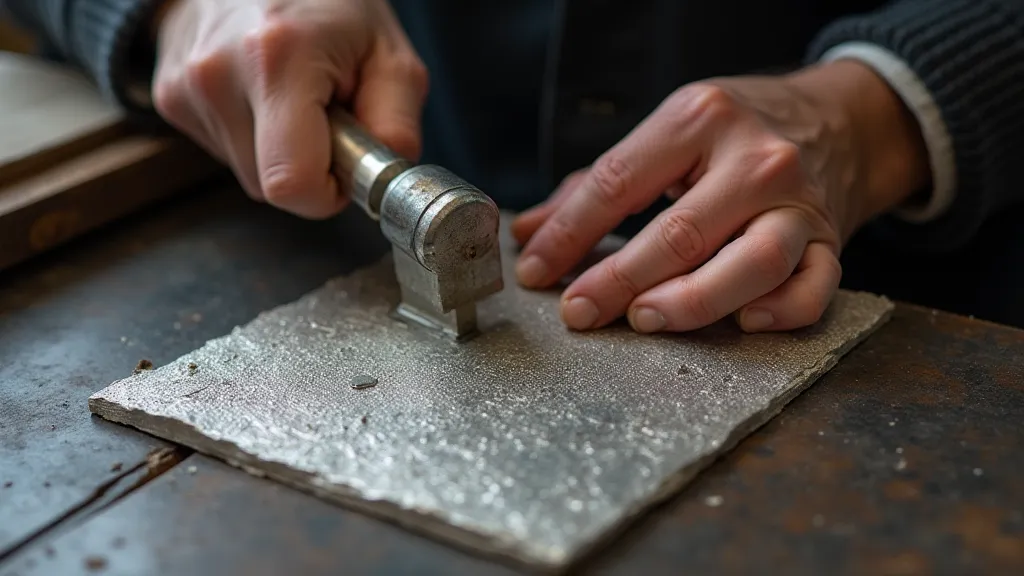
Raising follows repoussé. It involves working the metal from the back side to shape the bulge created by the repoussé into a smooth, curved surface. You use a raising hammer (typically a planishing hammer) and consistent, controlled taps to stretch and thin the metal, gradually forming the desired curve. Think of it as 'pulling' the metal into shape. This process, like much of silversmithing, requires a solid understanding of how metal behaves, and sometimes requires careful joining of pieces – something we cover in more detail in our Soldering 101: Your Guide to Joining Silver Pieces article.
Tools You'll Need
- Chasing Hammer: This is your primary tool for repoussé. It has a rounded face and comes in various sizes.
- Raising Hammer (Planishing Hammer): Used for raising the metal, creating smooth curves. Achieving those smooth curves can be tricky, and sometimes requires a deeper dive into forming techniques like dome bending—a process described in more detail on our Forming Silver: Dome Bending Basics page.
- Pitch: A thick, pliable material (often pitch or jeweler's wax) to secure the silver while you work. It’s crucial to hold the metal firmly without marring its surface.
- Anvil or Steel Plate: A solid, flat surface to work on.
- Various Punches: These are specialized tools for creating specific details in repoussé.
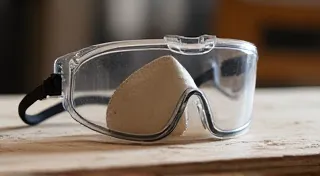
- Safety Glasses: Always protect your eyes from flying metal fragments.
Getting Started: A Simple Project
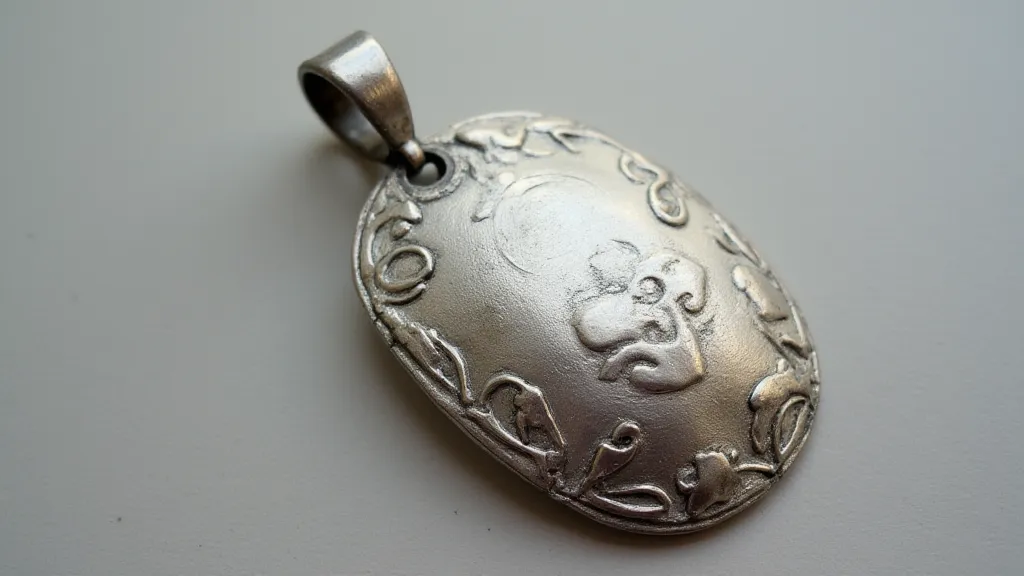
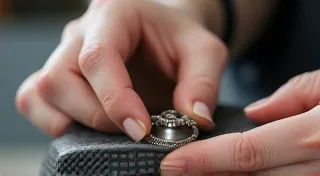
Let's imagine you want to create a small, raised silver pendant. The process involves careful manipulation of the metal, and for many beginners, creating even a simple pendant can seem daunting. As you gain experience, you might consider more ambitious projects, such as crafting a pair of simple silver earrings, which combine multiple techniques.
- Prepare the Silver: Start with a piece of silver sheet, appropriate thickness for your project (around 18-22 gauge is good for beginners).
- Secure the Silver: Place the silver on a pitch-covered surface, ensuring it’s held firmly.
- Repoussé the Design: Using your chasing hammer and punches, gently push the design you want to raise out from the front. Don't try to create the entire form at once – work in small, controlled areas.
- Raise the Form: Turn the silver over and carefully use your raising hammer to shape the back of the piece, smoothing the curves created by the repoussé. Take your time and be consistent with your taps. Achieving a truly smooth and even surface can be one of the most challenging aspects of raising, and demands precise hammer control and a gradual, iterative approach.
- Refine and Finish: Once the raising is complete, you can refine the form and add any final details. This stage is where your individual style and artistry truly shine. Adding texture, refining edges, and polishing the finished piece will bring it to life.
Advanced Techniques and Considerations
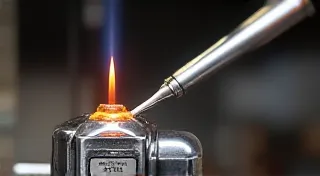
While the basic principles of raising and repoussé are relatively straightforward, mastering them requires practice and a deeper understanding of metal behavior. Temperature plays a surprisingly large role; silver becomes more malleable when slightly warmed, which can ease the raising process. However, excessive heat can also damage the metal and affect its properties. Skilled silversmiths often employ a combination of visual and tactile cues to judge the metal's condition and adjust their technique accordingly.
The choice of silver alloy also impacts the ease of working. Pure silver is exceptionally soft, making it easy to manipulate but also prone to damage. Sterling silver, a common alloy containing copper, offers a good balance of workability and durability. The copper content affects the alloy’s color and mechanical properties. Experimentation with different alloys is a worthwhile pursuit for the ambitious silversmith.
Troubleshooting Common Challenges
Newcomers to raising and repoussé often encounter a range of challenges. One frequent problem is the tendency to apply too much force, resulting in thin spots or cracks. Remember, these are slow and deliberate processes. Small, controlled taps are far more effective than forceful blows. Another common issue is unevenness in the raised surface. This can be corrected by carefully re-working the area with the raising hammer, paying close attention to the metal’s response.
A crucial element often overlooked is the surface preparation. Ensuring the silver is thoroughly clean and free of oxides before starting is essential. Oxides can interfere with the metal’s response to the hammer, leading to unpredictable results. A gentle polishing with a fine abrasive can help to ensure a smooth and consistent surface.
Tips for Beginners
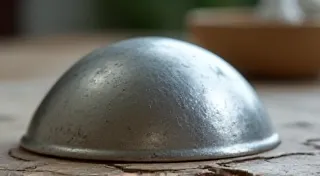
- Start Small: Don't tackle complex designs right away. Begin with simple shapes like domes or shallow bowls.
- Control is Key: Use gentle, controlled taps with your hammers.
- Practice on Scrap Silver: Experiment with different techniques and hammer angles on scrap silver before working on your final piece.
- Observe the Metal: Pay close attention to how the metal responds to your hammer blows. This is where the "feel" for the metal develops, a skill honed over time and experience.
- Watch Tutorials: Numerous video tutorials online can offer visual guidance. Seeing experienced silversmiths demonstrate these techniques can be incredibly valuable.
- Learn the Science: Understanding the metallurgy behind silverworking—how different alloys behave, and the impact of temperature—will elevate your craft.
Raising and repoussé are powerful techniques that can transform your silversmithing projects. While it takes practice to master, the results – beautiful, handcrafted pieces with depth and character – are well worth the effort! Happy crafting!