Your First Silversmithing Project: A Simple Silver Ring
Welcome to the wonderful world of silversmithing! This tutorial is designed for absolute beginners who want to learn basic jewelry making skills. We'll be creating a simple silver ring – a fantastic first project to get you comfortable with the essential techniques. Don't worry if you’ve never picked up a hammer or soldering torch before; we’re here to guide you every step of the way.
What You’ll Need
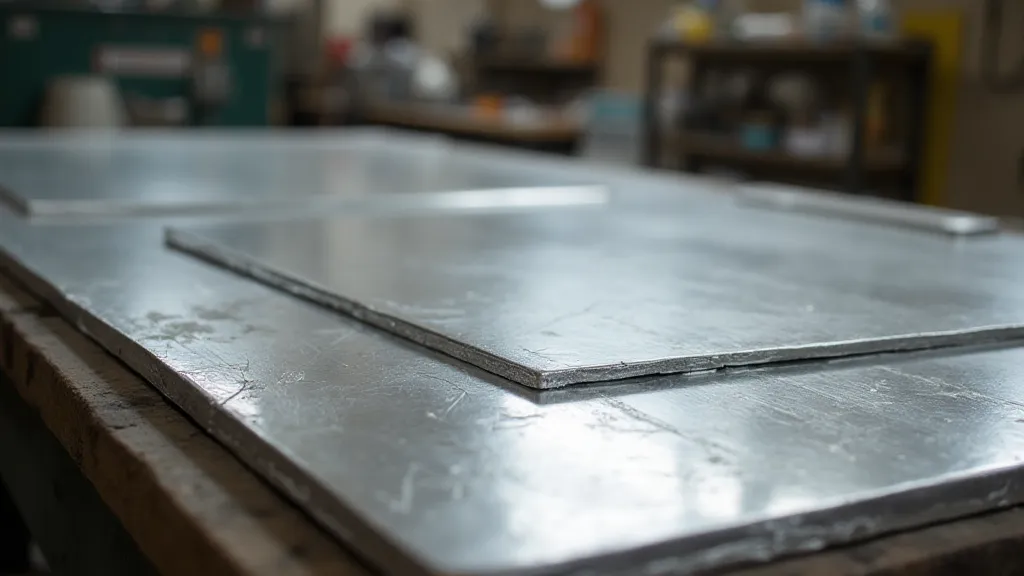
- Silver Sheet: 12 gauge sterling silver sheet, approximately 2" x 6" (This is a good starting size - you can always cut it down!)
- Saw Frame & Blades: For cutting the silver.
- Bench Block: A hard, flat surface to work on.
- Hammer: A chasing hammer or lightweight planishing hammer are good choices.
- Ring Mandrel: To shape the ring.
- File Set: To smooth edges.
- Soldering Torch & Supplies: Flux, solder, and a heat-resistant surface. Learning the basics of soldering is essential for this project, and will open up many more possibilities in your silversmithing journey.
- Polishing Cloth: For a shiny finish.
- Safety Glasses: Always protect your eyes!
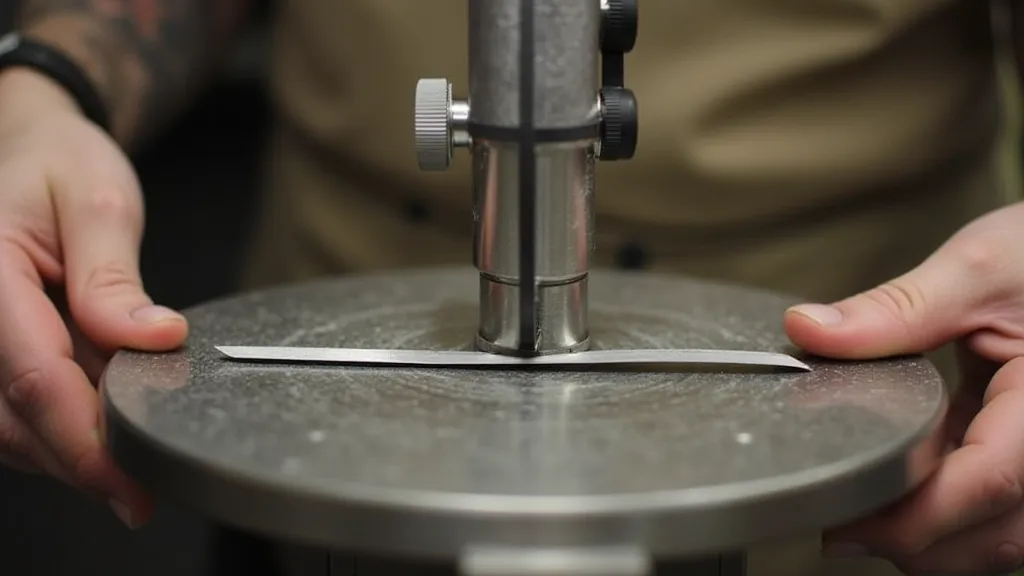
Step 1: Measuring and Cutting
First, determine your ring size. You can use a ring sizer or measure the circumference of an existing ring that fits comfortably. Add about 1/8 inch to this measurement to allow for the ring’s thickness. Consider the overall design you envision - a simpler ring like this is a great starting point, but as you progress, you might explore more complex forms utilizing techniques like raising and repoussé.
Now, cut a strip of silver sheet to the appropriate length and about 1/4 inch wide. Secure the silver in your saw frame and carefully cut along the marked line. A slow, steady sawing motion is key – don’t force it!
Step 2: Forming the Ring
Place the silver strip onto the ring mandrel. Using a chasing hammer, gently tap the silver as you rotate the mandrel. Work slowly and evenly, gradually shaping the silver into a round ring. Don’t try to force the metal; multiple, smaller taps are better than one large one. The tools you’re using – the hammer, the mandrel, the bench block – are just the beginning. As you become more experienced, you'll appreciate the value of a well-equipped workspace and will want to consider acquiring essential silversmithing tools to make your work even easier and more precise.
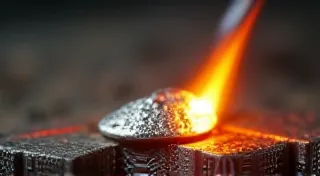
Step 3: Soldering (Optional - for a seamless ring)
If your ring has a visible seam, you'll need to solder it. This step creates a seamless ring. Secure the ring on a heat-resistant surface. Apply flux to the seam. Place a small piece of silver solder along the seam. Using a soldering torch, heat the area until the solder melts and flows into the gap. Let the ring cool completely.
Safety Note: Soldering involves working with high heat and potentially harmful fumes. Ensure proper ventilation and follow all safety precautions. Mastering the skill of soldering also opens up possibilities for creating intricate designs and joining multiple components – a fundamental building block for more complex silversmithing projects.

Step 2.5: Understanding Flux and Silver Solder
Before you begin soldering, it's important to understand the roles of flux and silver solder. Flux acts as a cleaning agent, removing oxides from the silver surfaces to ensure a strong bond. Silver solder, a lower-melting-point alloy, flows into the gap between the silver pieces, creating a seamless join. Different types of silver solder are available, each with a different melting point, allowing for greater control over the soldering process. Experimentation with different types of solder will refine your technique and allow you to tackle more intricate projects.
Step 2.6: Dealing with Oxidation
Silver is prone to tarnishing and oxidation, which can hinder the soldering process. Cleaning the silver thoroughly before soldering is crucial. Use a silver polishing cloth or a specialized cleaning solution to remove any surface impurities. Proper ventilation during soldering also helps prevent oxidation, as the oxygen in the air can react with the silver and create a layer of tarnish.
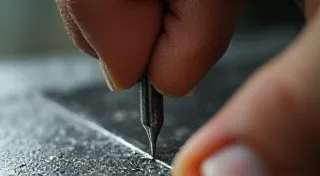
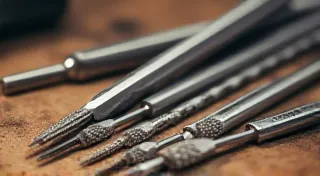
Step 4: Filing and Smoothing
Once the ring is formed (and soldered, if you chose that step), it's time to file the edges smooth. Use a set of needle files, starting with a coarser file to remove any sharp edges, then progressing to finer files for a polished finish. Be sure to file both the inside and outside of the ring. The precision required in filing highlights the importance of having the right tools. As your skills progress, you might investigate the art of silver etching to add detailed textures and patterns to your creations, adding another dimension to your silversmithing projects.

Step 2.7: The Importance of Good Lighting
Effective filing requires good lighting to clearly see the edges of the ring and identify any imperfections. A well-lit workspace will help you achieve a smooth, even finish.
Step 2.8: Choosing the Right Files
A good set of needle files is essential for achieving a professional finish. Different file shapes and coarseness levels are available, each suited for specific tasks. Start with a coarser file to remove sharp edges and imperfections, then progress to finer files to polish the surface.
Step 2.9: The Art of Patience
Filing takes time and patience. Don't rush the process, as this can lead to mistakes and a less-than-perfect finish. Take breaks when needed and focus on achieving a smooth, even surface.
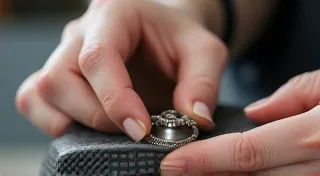
Step 5: Polishing
The final step is polishing! Use a polishing cloth to rub the ring until it shines. A little elbow grease goes a long way. You can also use polishing compounds for an even brighter finish. Consider that the techniques you've mastered in this simple ring project are just the foundation for exploring more advanced methods like raising and repoussé, where you can create stunning three-dimensional forms.

Step 2.10: Choosing the Right Polishing Cloth
A good polishing cloth is essential for achieving a brilliant shine. Different types of cloths are available, each designed for specific polishing tasks. Start with a coarser cloth to remove scratches and imperfections, then progress to a finer cloth to achieve a mirror finish.
Step 2.11: Using Polishing Compounds
Polishing compounds can enhance the shine of your silver ring. Different compounds are available, each designed for specific polishing tasks. Use them sparingly and follow the manufacturer's instructions.
Congratulations!
You’re now the proud creator of your very first silversmithing project! This simple silver ring is just the beginning of your journey. Experiment with different techniques and designs – the possibilities are endless! From simple rings to complex sculptures, the world of silversmithing offers a lifetime of creative exploration. Remember to continue learning and practicing to hone your skills and unlock your artistic potential.
Further Exploration
This project is a springboard to many other exciting possibilities within silversmithing. Consider exploring techniques like:
- Granulation: Attaching tiny spheres of precious metal to a surface.
- Chasing: Using tools to create patterns and textures on the silver.
- Enameling: Fusing glass powder to the silver surface.