Making Simple Silver Earrings: A Beginner's Project
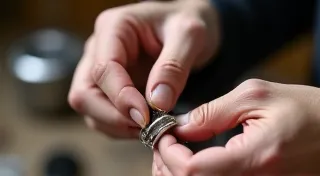
Welcome to the wonderful world of silversmithing! This project is designed for absolute beginners eager to learn the foundational techniques of jewelry making. We're going to create a simple pair of silver earrings – a fantastic first step into metalworking and jewelry design. Don’t worry if you’re a complete novice; we’ve broken down each step to make it as accessible as possible. This project builds on basic principles you might also explore when crafting something like Your First Silversmithing Project: A Simple Silver Ring.
What You’ll Need: Your Silversmithing Toolkit
Before we begin, let's gather your tools. You don’t need a huge investment to start. Here's a basic list:
- Sterling Silver Sheet: A small piece (around 10cm x 30cm) is plenty for a pair of earrings.
- Saw Frame: Essential for cutting precise shapes.
- Jeweler's Saw Blades: Several, as they can break.
- Jeweler's Files: A set of different shapes and grits for smoothing edges.
- Pliers: Chain-nose pliers and round-nose pliers are very useful.
- Hammer: A chasing hammer is ideal, but a small ball-peen hammer will work.
- Bench Block: A sturdy surface to work on.
- Earring Hooks: Pre-made earring hooks (sterling silver, of course!).
- Liver of Sulfur: For antiquing/oxidation (optional).
- Polishing Cloth: To bring out the shine.
Understanding Silver and its Care
Sterling silver, the material we're using, is an alloy of silver and copper. It’s chosen for its durability and workability. However, silver can tarnish over time due to exposure to sulfur compounds in the air. Regular Cleaning Silver: Maintaining the Beauty of Your Creations is vital to keeping your earrings sparkling and beautiful for years to come.
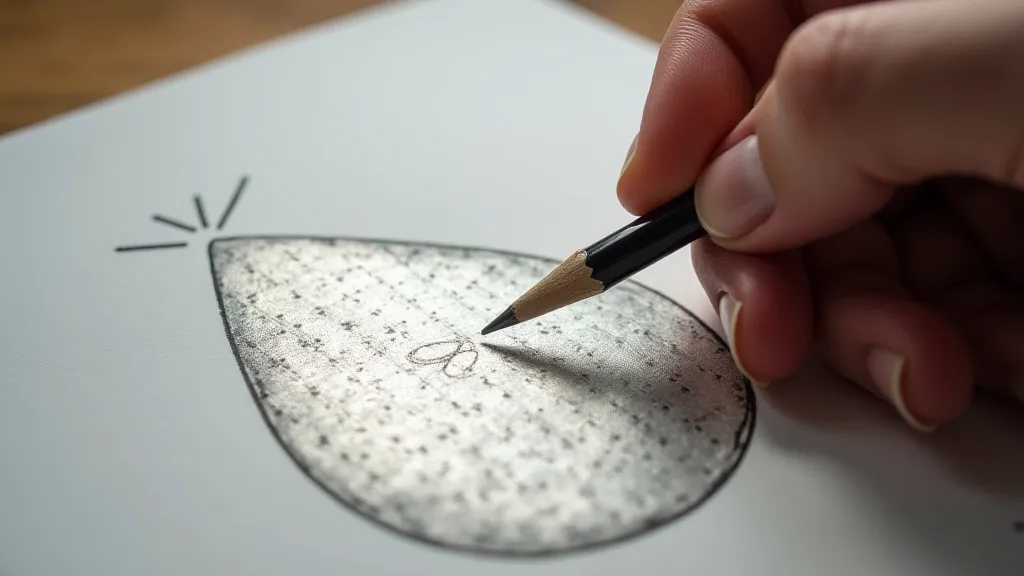
Step 1: Designing Your Earrings
While we’re making a *simple* design, it’s still good to plan. Think about the shape you want. A teardrop, a simple square, or a rounded rectangle are all good starting points. You can draw your design directly onto the silver sheet using a pencil or marker. Consider how the shape will drape and how the hammering technique (if you choose to use it) will affect the final appearance. Experimenting with different design elements is key to developing your own style in silversmithing.
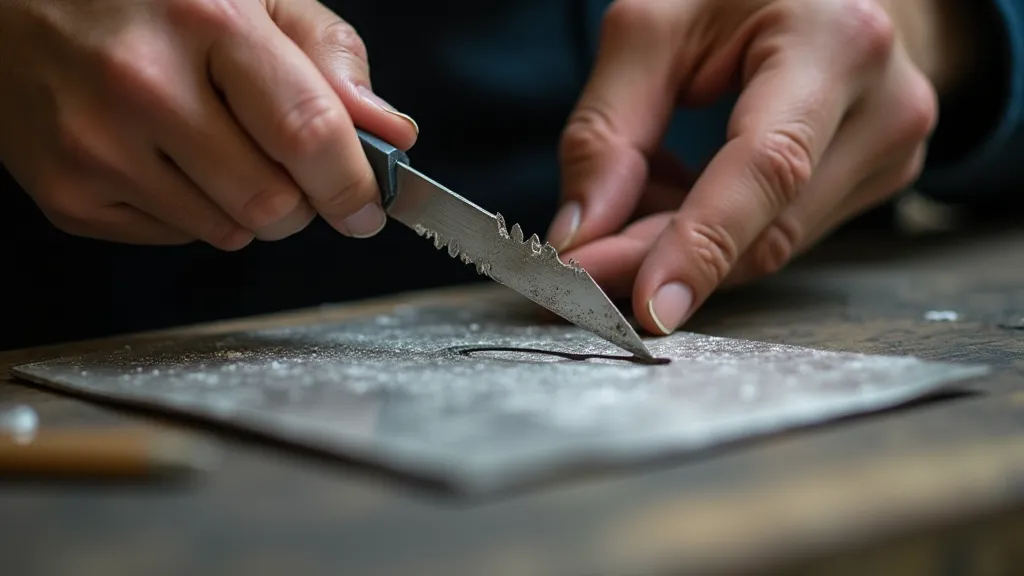
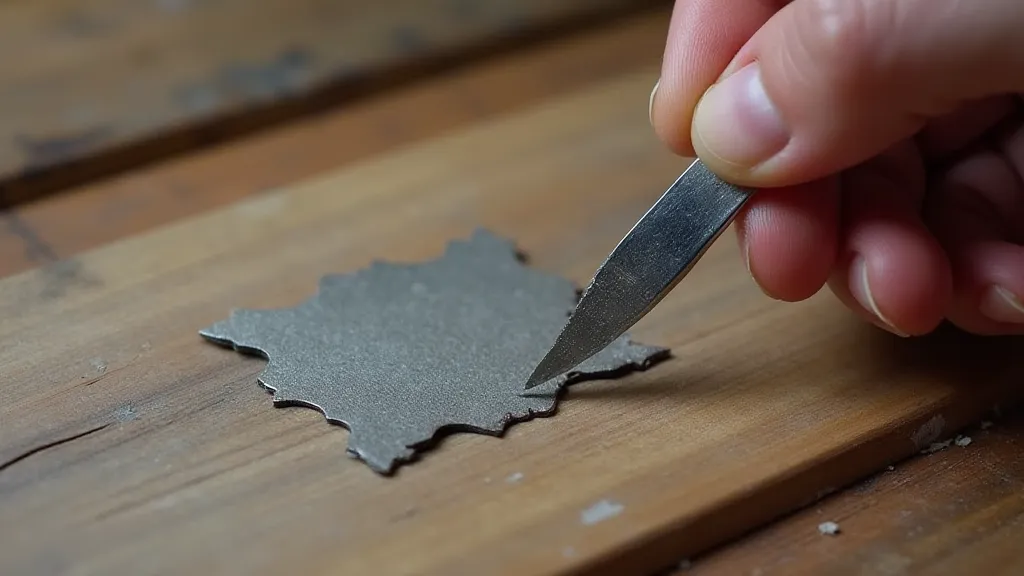
Step 2: Cutting the Silver
Secure the silver sheet onto your bench block. Carefully insert a saw blade into your saw frame. Follow your design lines slowly and steadily. This is arguably the trickiest part for beginners, so take your time and don’t force it! Let the saw do the work. The jeweler's saw is a precision tool and mastering its use is crucial. Make sure your blade is properly tensioned and angled for clean, even cuts.
Step 3: Filing and Shaping
Once you’ve cut out your shapes, they're likely to have rough edges. Use your jeweler’s files to smooth these edges and refine the shape. Start with a coarser grit file to remove larger imperfections, then move to finer grits for a polished edge. Proper filing not only improves the aesthetic appeal but also removes any sharp edges that could be uncomfortable to wear. Consider the angle of your files to achieve consistent results.
Step 4: Hammering (Optional) - Adding Texture and Dimension
You can add texture and visual interest by lightly hammering the silver. Place the silver on your bench block and use a chasing hammer (or a ball-peen hammer) to gently tap the surface. This creates a hammered texture. This technique requires a delicate touch and an understanding of how the hammer interacts with the silver. Heavier blows can distort the shape, so start gently and gradually increase pressure as you gain experience. This process also allows you to explore a more advanced technique, such as The Art of Raising and Repoussé in Silversmithing, which involves shaping metal using hammers and punches.

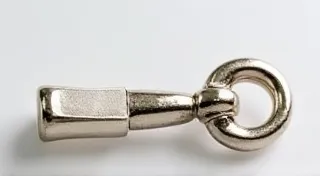
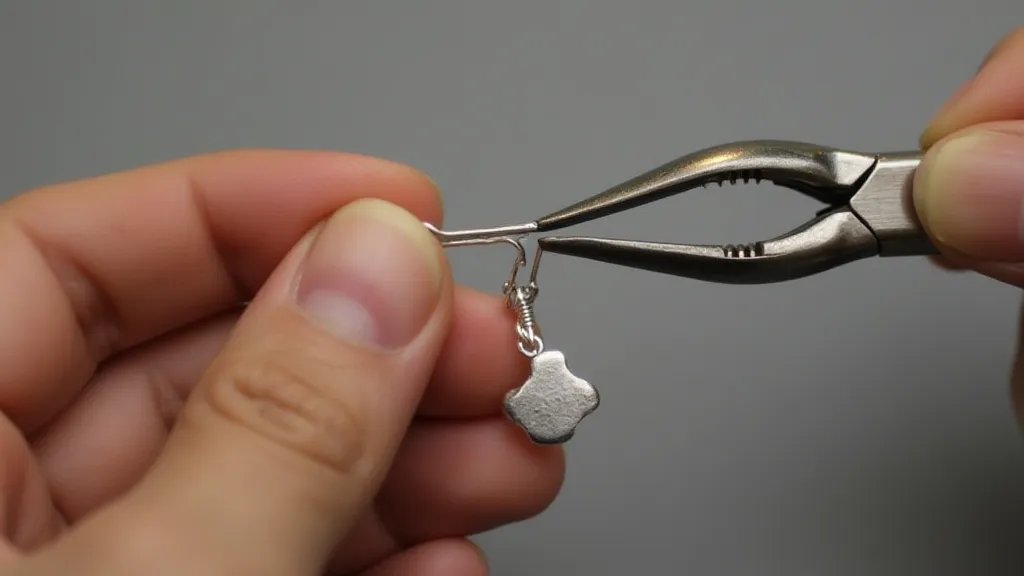
Step 5: Attaching the Earring Hooks
This is the final, and easiest step! Use your pliers to carefully open the loop on the earring hook and attach it to the top of your silver earring piece. Close the loop securely. Ensure the connection is strong and the loop is completely closed to prevent the earring from falling off. A well-secured earring hook is paramount for safety and wearability.
Finishing Touches & Care - Maintaining Your Silver's Shine
Once your earrings are complete, give them a good polish with a polishing cloth to bring out the shine. If you’re using liver of sulfur for an antiqued look, follow the product's instructions carefully. Antiquing can create a beautiful contrast with the polished silver, but it requires careful application to achieve the desired effect. Remember that even antiqued silver will require periodic cleaning to prevent excessive tarnishing.
To keep your silver earrings looking their best, avoid contact with harsh chemicals, lotions, and perfumes. Store them in a dry place, ideally in a tarnish-resistant bag, when you're not wearing them. Regular Polishing Silver: Achieving a High Shine will restore their luster and keep them looking brand new for years to come. Proper storage and care are essential for preserving the beauty and longevity of your silver creations.

Congratulations! You’ve made your first pair of silver earrings! This project lays the foundation for so much more. Now you can experiment with different shapes, textures, and techniques. Don’t be afraid to explore your creativity and develop your own unique style. Happy silversmithing!
Further Exploration: This simple project is just the beginning. Consider researching different silversmithing techniques such as granulation, chasing, and soldering to further expand your skills. The possibilities are endless!