Learning Silversmithing Techniques: Your Beginner-Friendly Guide
Welcome to the ultimate resource for aspiring silversmiths! Whether you've always admired handcrafted jewelry or are looking for a rewarding new hobby, you've come to the right place. This website is dedicated to providing clear, concise, and beginner-friendly tutorials for learning basic silversmithing techniques. We’re here to guide you through every step of the process, from understanding different silver grades to creating your own beautiful and unique pieces. Get ready to explore the fascinating world of jewelry making and discover the satisfaction of transforming raw materials into stunning works of art. This is an exciting venture into the world of metalworking and crafts, and jewelry design. This isn't just about creating beautiful objects; it's about connecting with a tradition that stretches back millennia, a way to express your creativity and build tangible, lasting pieces.
The art of metalworking can seem daunting at first. The tools, the jargon, the perceived complexity – it’s easy to feel overwhelmed. But don't let that deter you! With the right instruction, a little patience, and a willingness to experiment, anyone can learn the basics of silversmithing. This isn't about instantly becoming a master artisan; it's about laying a solid foundation, understanding the core principles, and building your skills progressively. We’re going to cover everything from essential tools and materials to advanced techniques, and even touch upon the safety considerations critical to a pleasant, productive, and safe experience. For a detailed list of essential silversmithing tools to get started, look no further. It's an adventure in creation; let's begin! We'll break down each step, explain the “why” behind the “how,” and provide tips and tricks to help you avoid common pitfalls.
Beyond the practical skills, silversmithing fosters an appreciation for craftsmanship, attention to detail, and a deep understanding of materials. It's a process that requires focus, precision, and a willingness to learn from your mistakes. But the rewards are immeasurable – the pride of creating something beautiful with your own hands, the satisfaction of mastering a new skill, and the joy of sharing your creations with others. Jewelry making is an art form that spans cultures and generations, and you've now embarked on a journey to connect with that rich history.
Understanding the Basics: Silver Grades and Materials
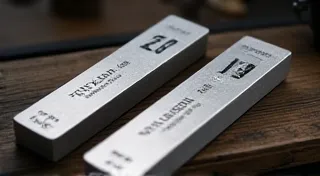
Before you even pick up a hammer, it’s crucial to understand the different types of silver used in jewelry making. Knowing the difference between understanding silver grades like Sterling Silver (92.5% silver, 7.5% other metals, usually copper), Fine Silver (99.9% silver), Argentium Silver (a modern alloy with improved properties), and other metals like copper and brass is crucial for selecting the right material for your project. Sterling silver is a popular choice due to its balance of strength, workability, and affordability. Fine silver, purer than sterling, is less workable and more prone to tarnishing, so it’s typically utilized for specialized processes like electroforming. Argentium Silver is a modern alloy designed to be more resistant to tarnishing and easier to solder. Each material has unique properties that affect how it behaves when worked, so choosing the right silver for the job is paramount.
Beyond the silver alloy itself, the learning curve involves understanding the role of other metals in the process. Copper is commonly alloyed with silver to create sterling silver, and it also plays a crucial role in soldering. Other metals like brass and bronze can be incorporated into designs to add color and visual interest. A thorough understanding of each metal’s characteristics will significantly improve your results and prevent costly mistakes. We’re going to dive deeper into the intricacies of each material, discussing their pros and cons and providing guidance on when to use them.
You're not just learning how to manipulate metal; you're learning about chemistry, physics, and design principles. Each project will be a learning experience, and with each step, you'll gain a deeper appreciation for the complexities of this craft.
You can also explore different silver alloys for a more in-depth look, comparing their characteristics and suitability for various projects.
Essential Tools of the Trade
To get started, you’re going to need some essential metalworking tools. The selection can feel overwhelming at first, but we're going to break it down into categories: basic tools for everyone, intermediate tools for more complex projects, and advanced tools for specialized techniques. From hammers and files to torches and soldering equipment, the right tools will make all the difference in your success. We’ll focus on quality over quantity, prioritizing durable, reliable tools that will last for years.
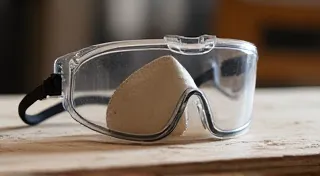
Basic Toolkit: This includes hammers (ball-peen, chasing, planishing), files (various cuts), pliers (chain-nose, round-nose, flat-nose), a saw (jeweler’s saw), a measuring tool (ruler, calipers), and safety glasses. These tools are essential for forming, cutting, and shaping silver.
Intermediate Toolkit: This includes a flex shaft tool (for detailed work), a soldering torch (propane or butane), a kiln (for annealing and firing), and specialized pliers for specific tasks (e.g., bead-forming pliers). These tools allow you to tackle more complex projects and achieve finer details.
Advanced Toolkit: This includes hydraulic presses, rolling mills, and other specialized equipment for experienced silversmiths who want to push the boundaries of their craft.
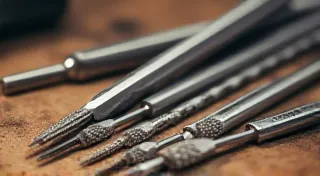
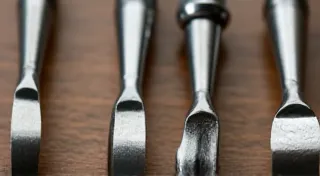
For those looking to perfect their technique, understanding how to choose the right files is crucial. Different file cuts are designed for specific tasks, and selecting the correct file will significantly improve the quality of your work.
Core Techniques: Forming, Sawing, and Soldering
Once you have your materials and tools, it's time to learn the core techniques. Basic silver forming techniques like hammering, bending, and shaping are fundamental to creating a wide range of designs. Learning to manipulate the silver effectively will allow you to create complex shapes and textures. Practice these techniques with scrap silver before moving on to your final project. Mastering these basics will give you a strong foundation for more advanced skills.
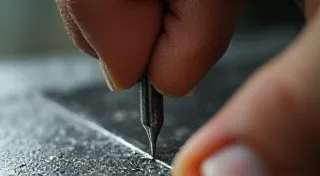
Sawing: This is the first step in many projects. Learn to hold the saw at the correct angle and maintain consistent pressure. A steady hand and a sharp blade are key to achieving clean, accurate cuts.
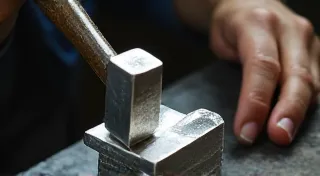
Forming: This involves shaping the silver using various techniques, including hammering, bending, and rolling. Learn to control the force of your blows and use different hammers to achieve different textures and shapes.
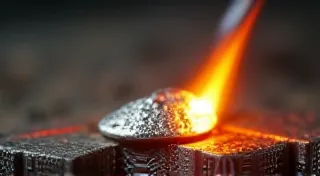
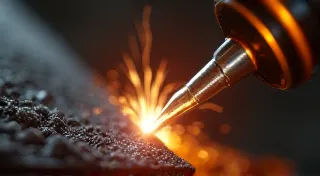
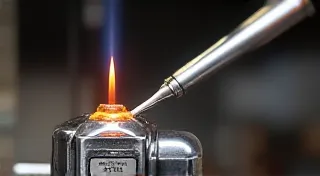
Soldering: This is the process of joining two pieces of silver together using a solder alloy. This requires a torch, flux, and careful temperature control. It’s one of the most challenging aspects of silversmithing, but also one of the most rewarding. Always prioritize safety when working with a torch.
Working with Heat: Annealing and Polishing
Mastering the art of silver soldering can seem daunting, but with a solid understanding of flux, solder types, and temperature control, it becomes manageable. For projects needing a strong, clean joint, remember to understand its vital role. Always practice proper ventilation and eye protection when soldering.
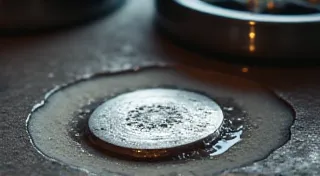
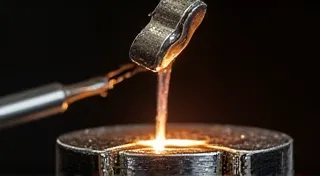
During the process of forming and soldering, the silver can become work-hardened, making it difficult to manipulate. That’s where annealing silver comes in. This process involves heating the silver to a specific temperature and then allowing it to cool slowly, restoring its malleability. Annealing is crucial for maintaining the silver's workability and preventing cracks. Always follow safety precautions when annealing silver.
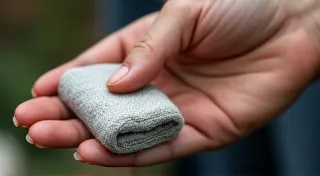
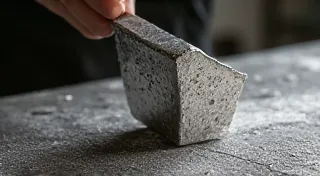
After soldering and forming, polishing silver is essential to achieve a high shine and remove scratches and imperfections. Different polishing compounds are available for different levels of polish. Always wear a dust mask when polishing.
Adding Detail and Texture
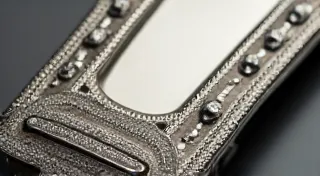
Once you're comfortable with the basic techniques, you can start to experiment with adding detail and texture to your pieces. This can be achieved through a variety of techniques, including chasing, repoussé, and etching.
Chasing and Repoussé: These techniques involve using specialized tools to create raised and recessed designs on the silver. Chasing involves pushing the silver from the front, while repoussé involves hammering from the back. These techniques require patience and practice, but the results can be stunning.
Etching: This technique involves using acid to create designs on the silver. Etching can be used to create intricate details and textures. Always follow safety precautions when working with acid.
Want to add a personalized touch to your creations? Consider silver etching using acid, but always remember the safety precautions. Proper ventilation and protective gear are essential.
Practical Projects and Further Exploration
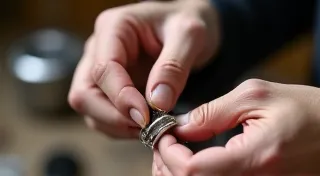
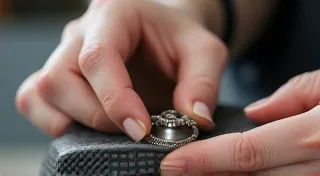
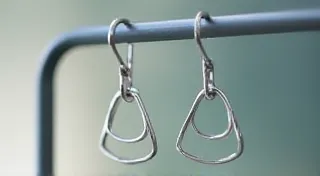
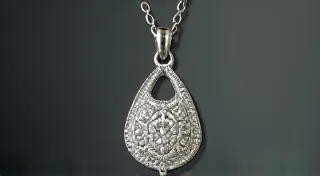
The best way to learn is by doing! Crafting a simple silver ring is a great first project. It introduces fundamental techniques and provides a tangible reward for your efforts. Making simple silver earrings or a simple silver pendant are also excellent starting points. As you gain experience, you can tackle more complex projects, such as bracelets, necklaces, and even hollow forms.
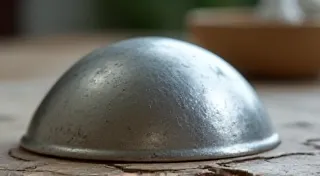
For those wanting to refine their techniques, consider dome bending basics for creating rounded shapes. Experimenting with different shapes and designs will help you develop your own unique style.
Safety First!
Remember to always prioritize safety when working with tools and materials. Wear safety glasses to protect your eyes, a dust mask when polishing, and proper ventilation when soldering or etching. Always follow manufacturer’s instructions for all tools and materials. Prioritizing your well-being will allow you to enjoy the craft for years to come.
Further Learning and Resources
Your journey doesn’t end here. Explore more resources to expand your knowledge and skills, whether your passion lies in understanding silver soldering or specialized jewelry design. Online tutorials, books, workshops, and local silversmithing guilds are all valuable resources. Connecting with other silversmiths can provide inspiration, support, and valuable insights.
Remember to always keep your creations looking their best by regularly cleaning silver jewelry.
Welcome to the wonderful world of jewelry making! We’re thrilled to have you join us. Happy crafting!